Seasonings Greetings! Just saying that reminds me of the Christmas card from years ago where I clipped measuring spoons to my lobes and stood among hip-high bags of spices in a market – caption: Seasonings Greetings. Cheesy? You betcha. But that’s the way I roll. And giving gifts that are edible is another way I roll. Be honest. What rivals something homemade? Maybeeeeeee….something that you can use up? I think so. This salt & pepper gift pairing does double duty as homemade and consumable, and it is a perfect stocking stuffer. Or a gift exchange. Or a hostess gift.
Citrus and Seeds
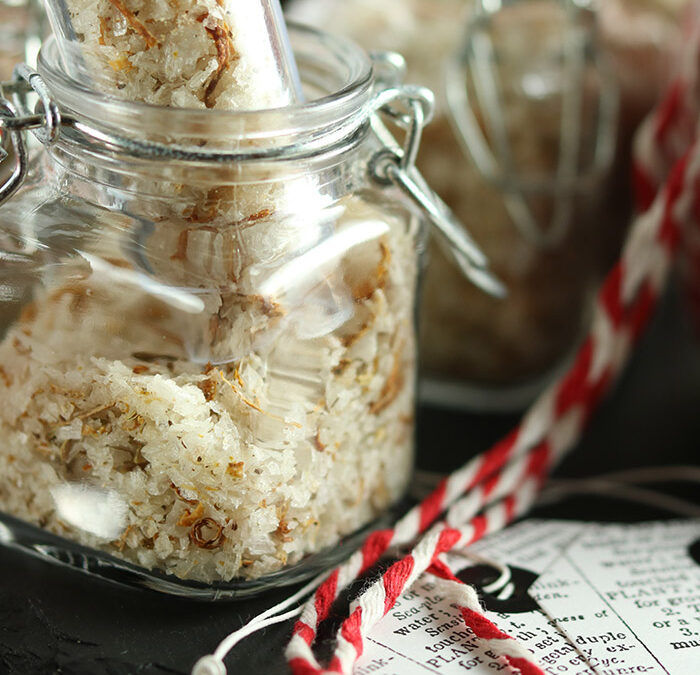
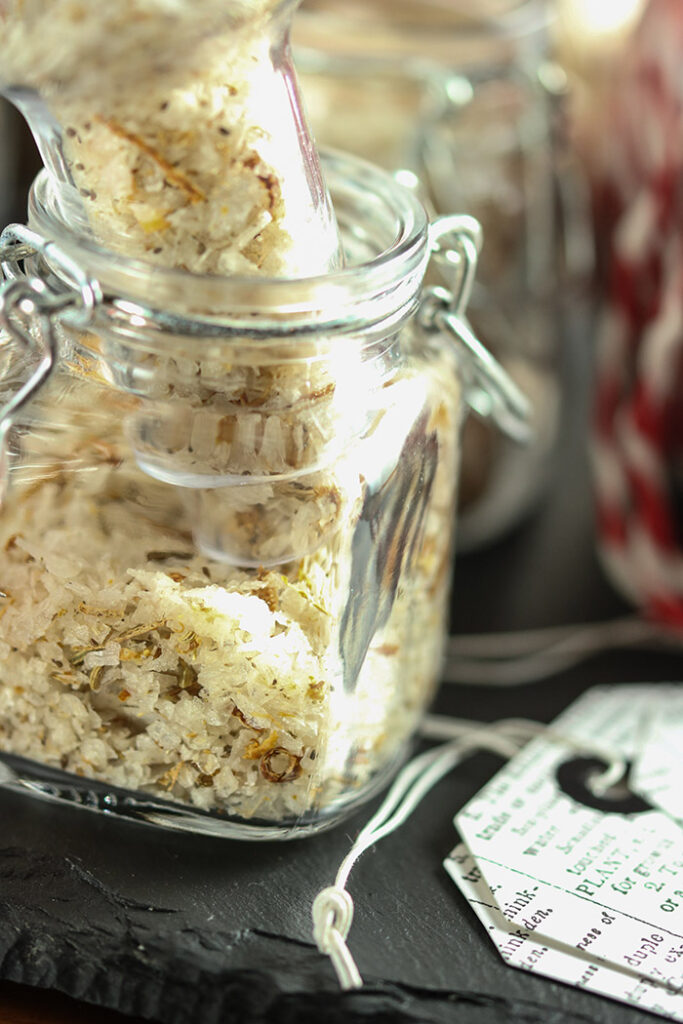
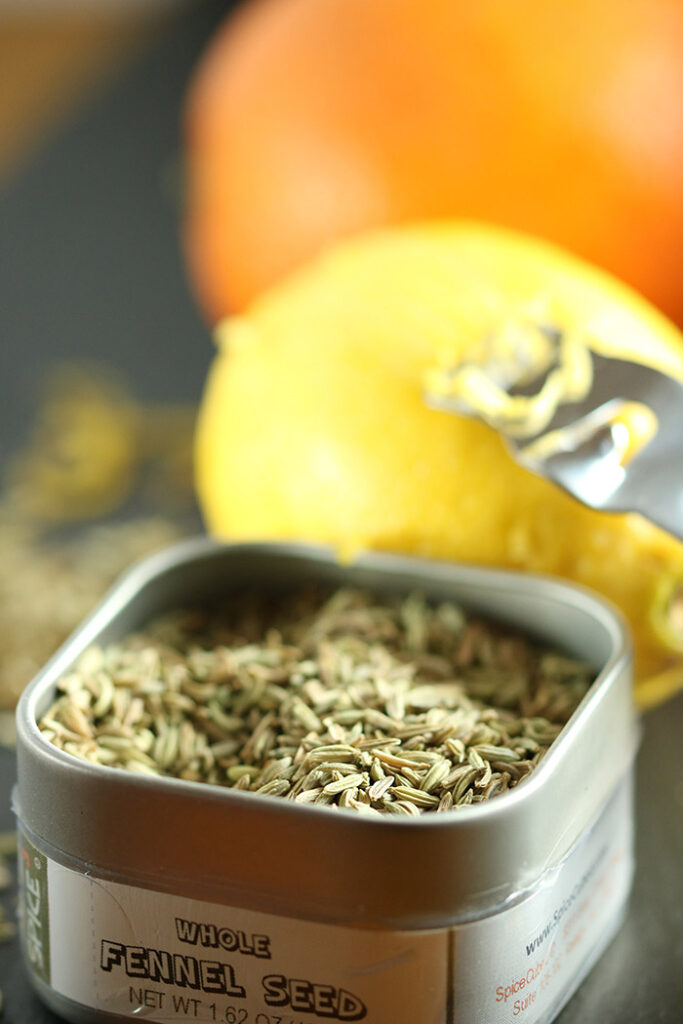
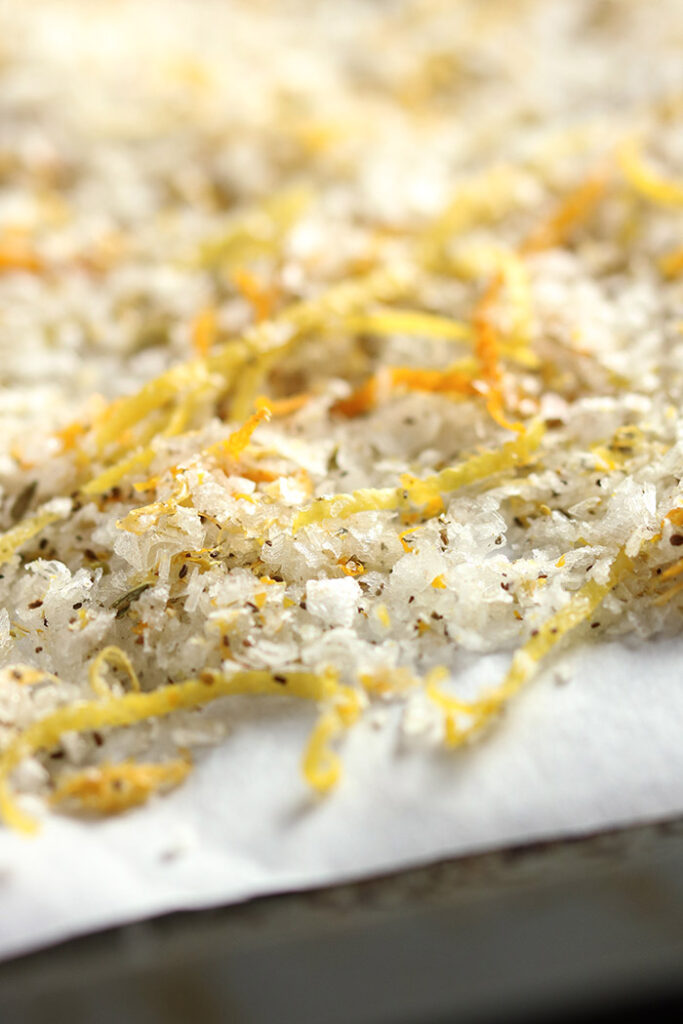
This salt blend benefits from a quick round of oven-drying citrus zest. Combining orange, lemon and grapefruit adds just the right amount of sweetness and acidity. And, the added fennel and celery seeds add a hint of fresh herbs, but provide a shelf life longer-lasting than fresh.
Picking the Right Salt
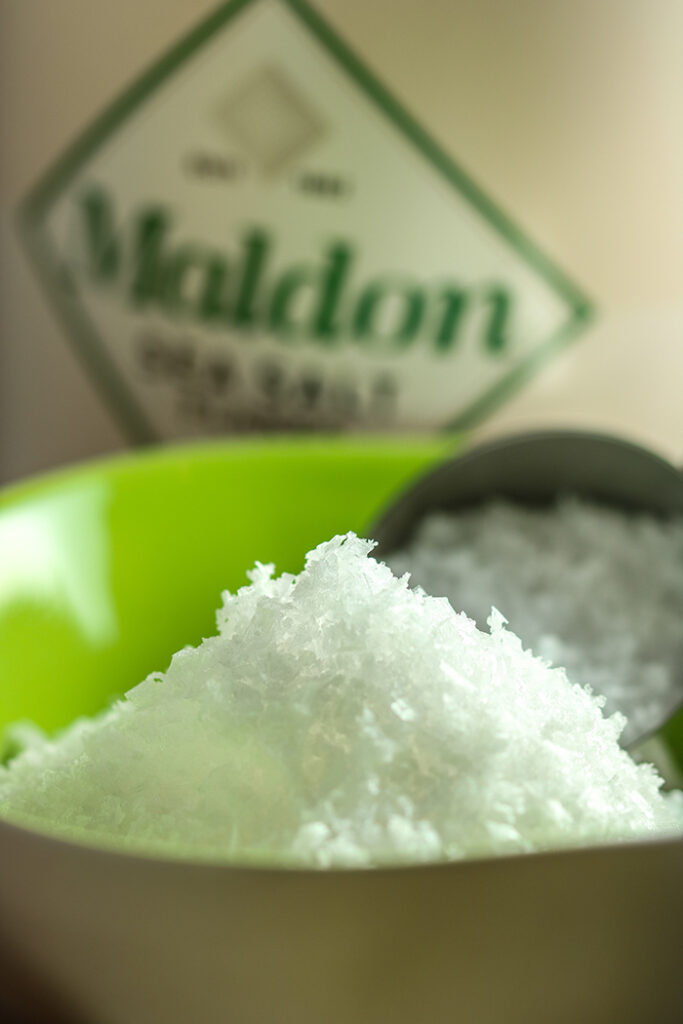
I am a big fan of Maldon Sea Salt and use it for its flaky form as a finishing salt. It’s delicate and thin, with crispy flakes. And great news! When I initially started making salts a few years ago (my maiden voyage in gift salts was a trio of this spiced citrus, along with kale-walnut and hazelnut-spice), I found a 3.3 pound tub of Maldon which had to be shipped from England, where the salt has been harvested along the coast since the early 1800s. Today that tub is available on Amazon. It makes using an uber high quality salt easily sourced and affordable for gift making, with plenty left over for personal use. Try it on anything that needs a sprinkle of salt – like chocolate espresso shortbread or salted caramels.
Zesting the Citrus Peel
When zesting the citrus to make the salt blend, I like to use a bar tool that makes long thin strips (use the section with the little holes, not the channel knife.) But you can also easily use a microplane which works well in removing only the outer peel of the citrus. The key is to avoid grating too deeply, thereby grabbing the white pith which adds unwanted bitterness.
Mix all the salt ingredients and spread out on a parchment-lined sheet pan and pop in the oven. It should take about 20 minutes to dry out the zest, but check after 15 minutes and give the salt a stir.
From Zesting to Zesty
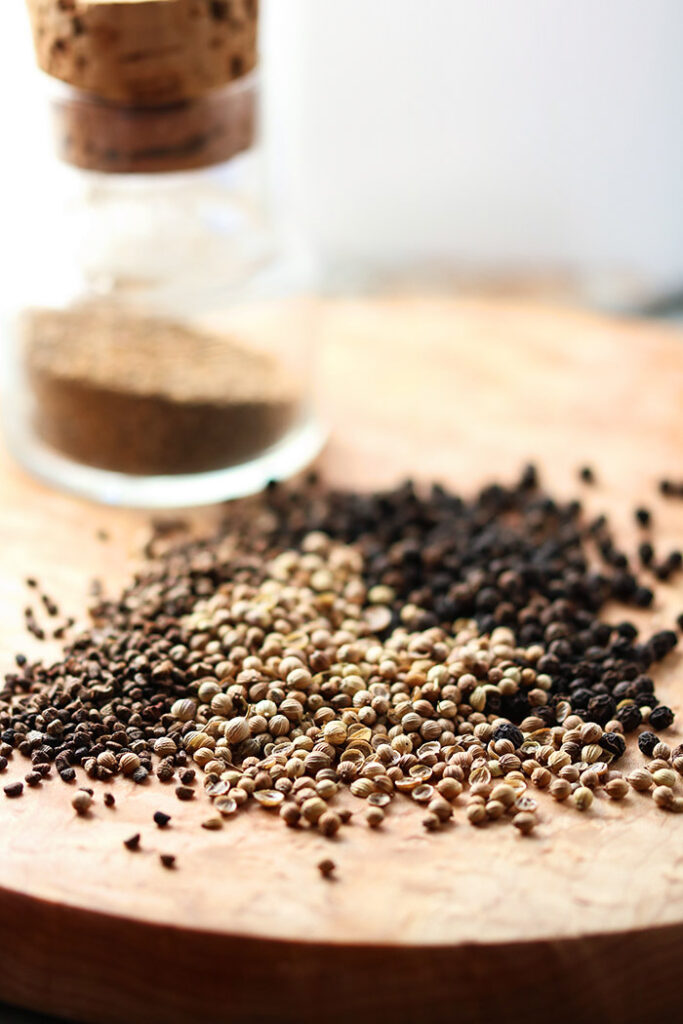
And what’s salt without pepper? Salt: sister from another mister. Pepper: brother from another mother. Salt & Pepper: we are fam-i-ly! This particular pepper blend was introduced to me by a dear friend. I made my own ratios so the end result is a bit different, but she was spot on in marrying cardamon and coriander with black pepper to get a blend with more zip than any ingredient could deliver on its own. Yahoo!
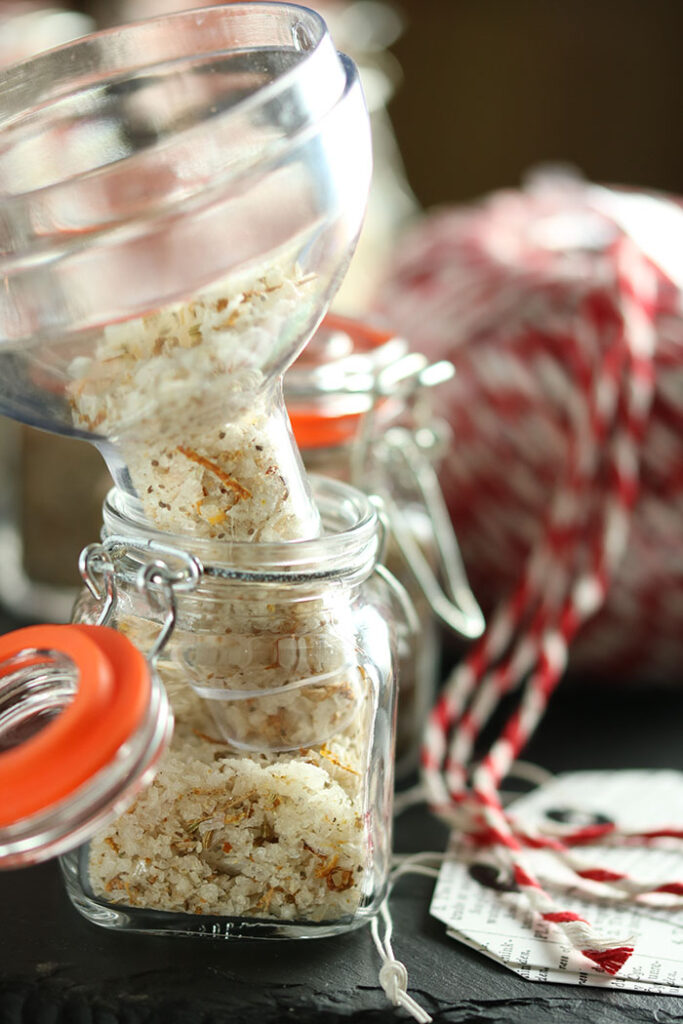
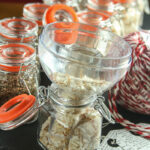
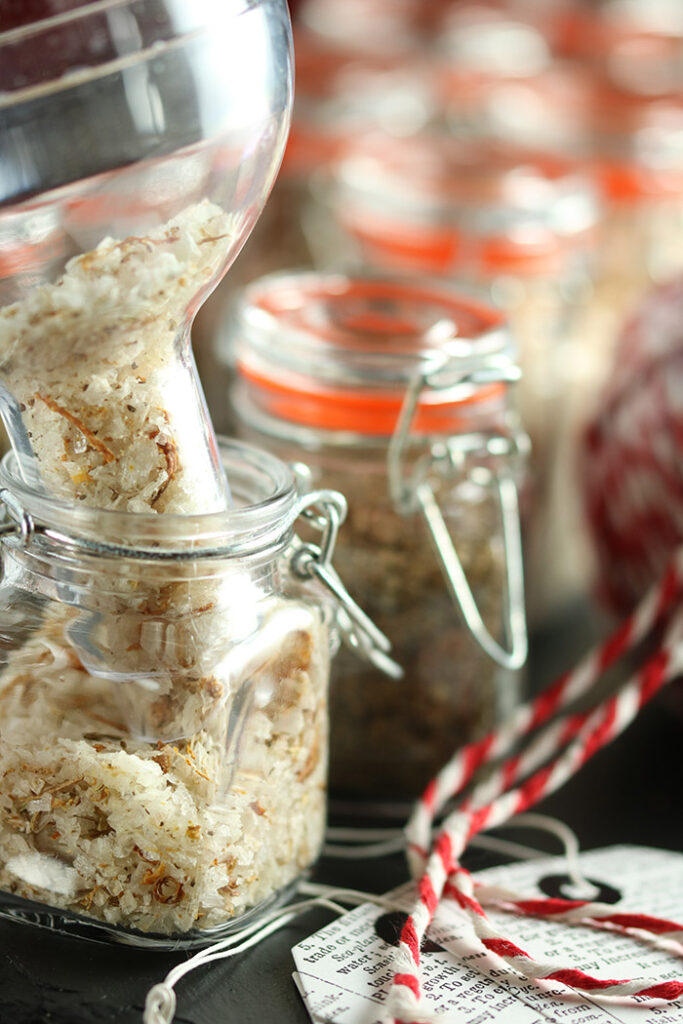
Once the blends are assembled and the salt is fully cooled, the only thing left to do is put them in cute little spice jars, tied with a decorative label identifying the goods inside. I have taken these to a gift exchange, and this was the top sought after gift once the stealing began. Showing up with an armful of these salt & pepper gifts at any holiday party is sure to earn you the Best Guest tiara!! Enjoy!
Nothing is better than a handmade holiday gift. In my book, bonus points if it can be consumed and if it adds a little sumthin’ sumthin’ to my pantry. This spiced citrus salt and zesty pepper blend is my favorite spice combo! Salt & Pepper, you rock!!!
Preheat oven to 275oF. Line sheet pan with parchment.
Mix salt with citrus zests and ground seeds. Mix until well combined. Spread evenly on the parchment paper and bake until the zest is fully dehydrated, about 20 minutes. Check after about 15 minutes and stir the salt, turning over the bottom which may still be a bit wet. Once completely dried, remove from oven and allow to cool completely.
Transfer to sterilized airtight containers. Stores well for at least 3 months.
For zesting citrus, I prefer the long strands from a bar zester versus the shorter zest from a microplane. However, I’ve been known to do a bit of both and combine.
Prep Time:40 minutes
Cook Time:20 minutes
Category:Spices
Don’t forget the yumster English toffee that I wrote about last year. It, too, makes a wonderful holiday gift. Cookie Exchange ladies – brace yourselves. This is headed your way!
This post contains affiliate links. For more of my must-have items, visit my shop.
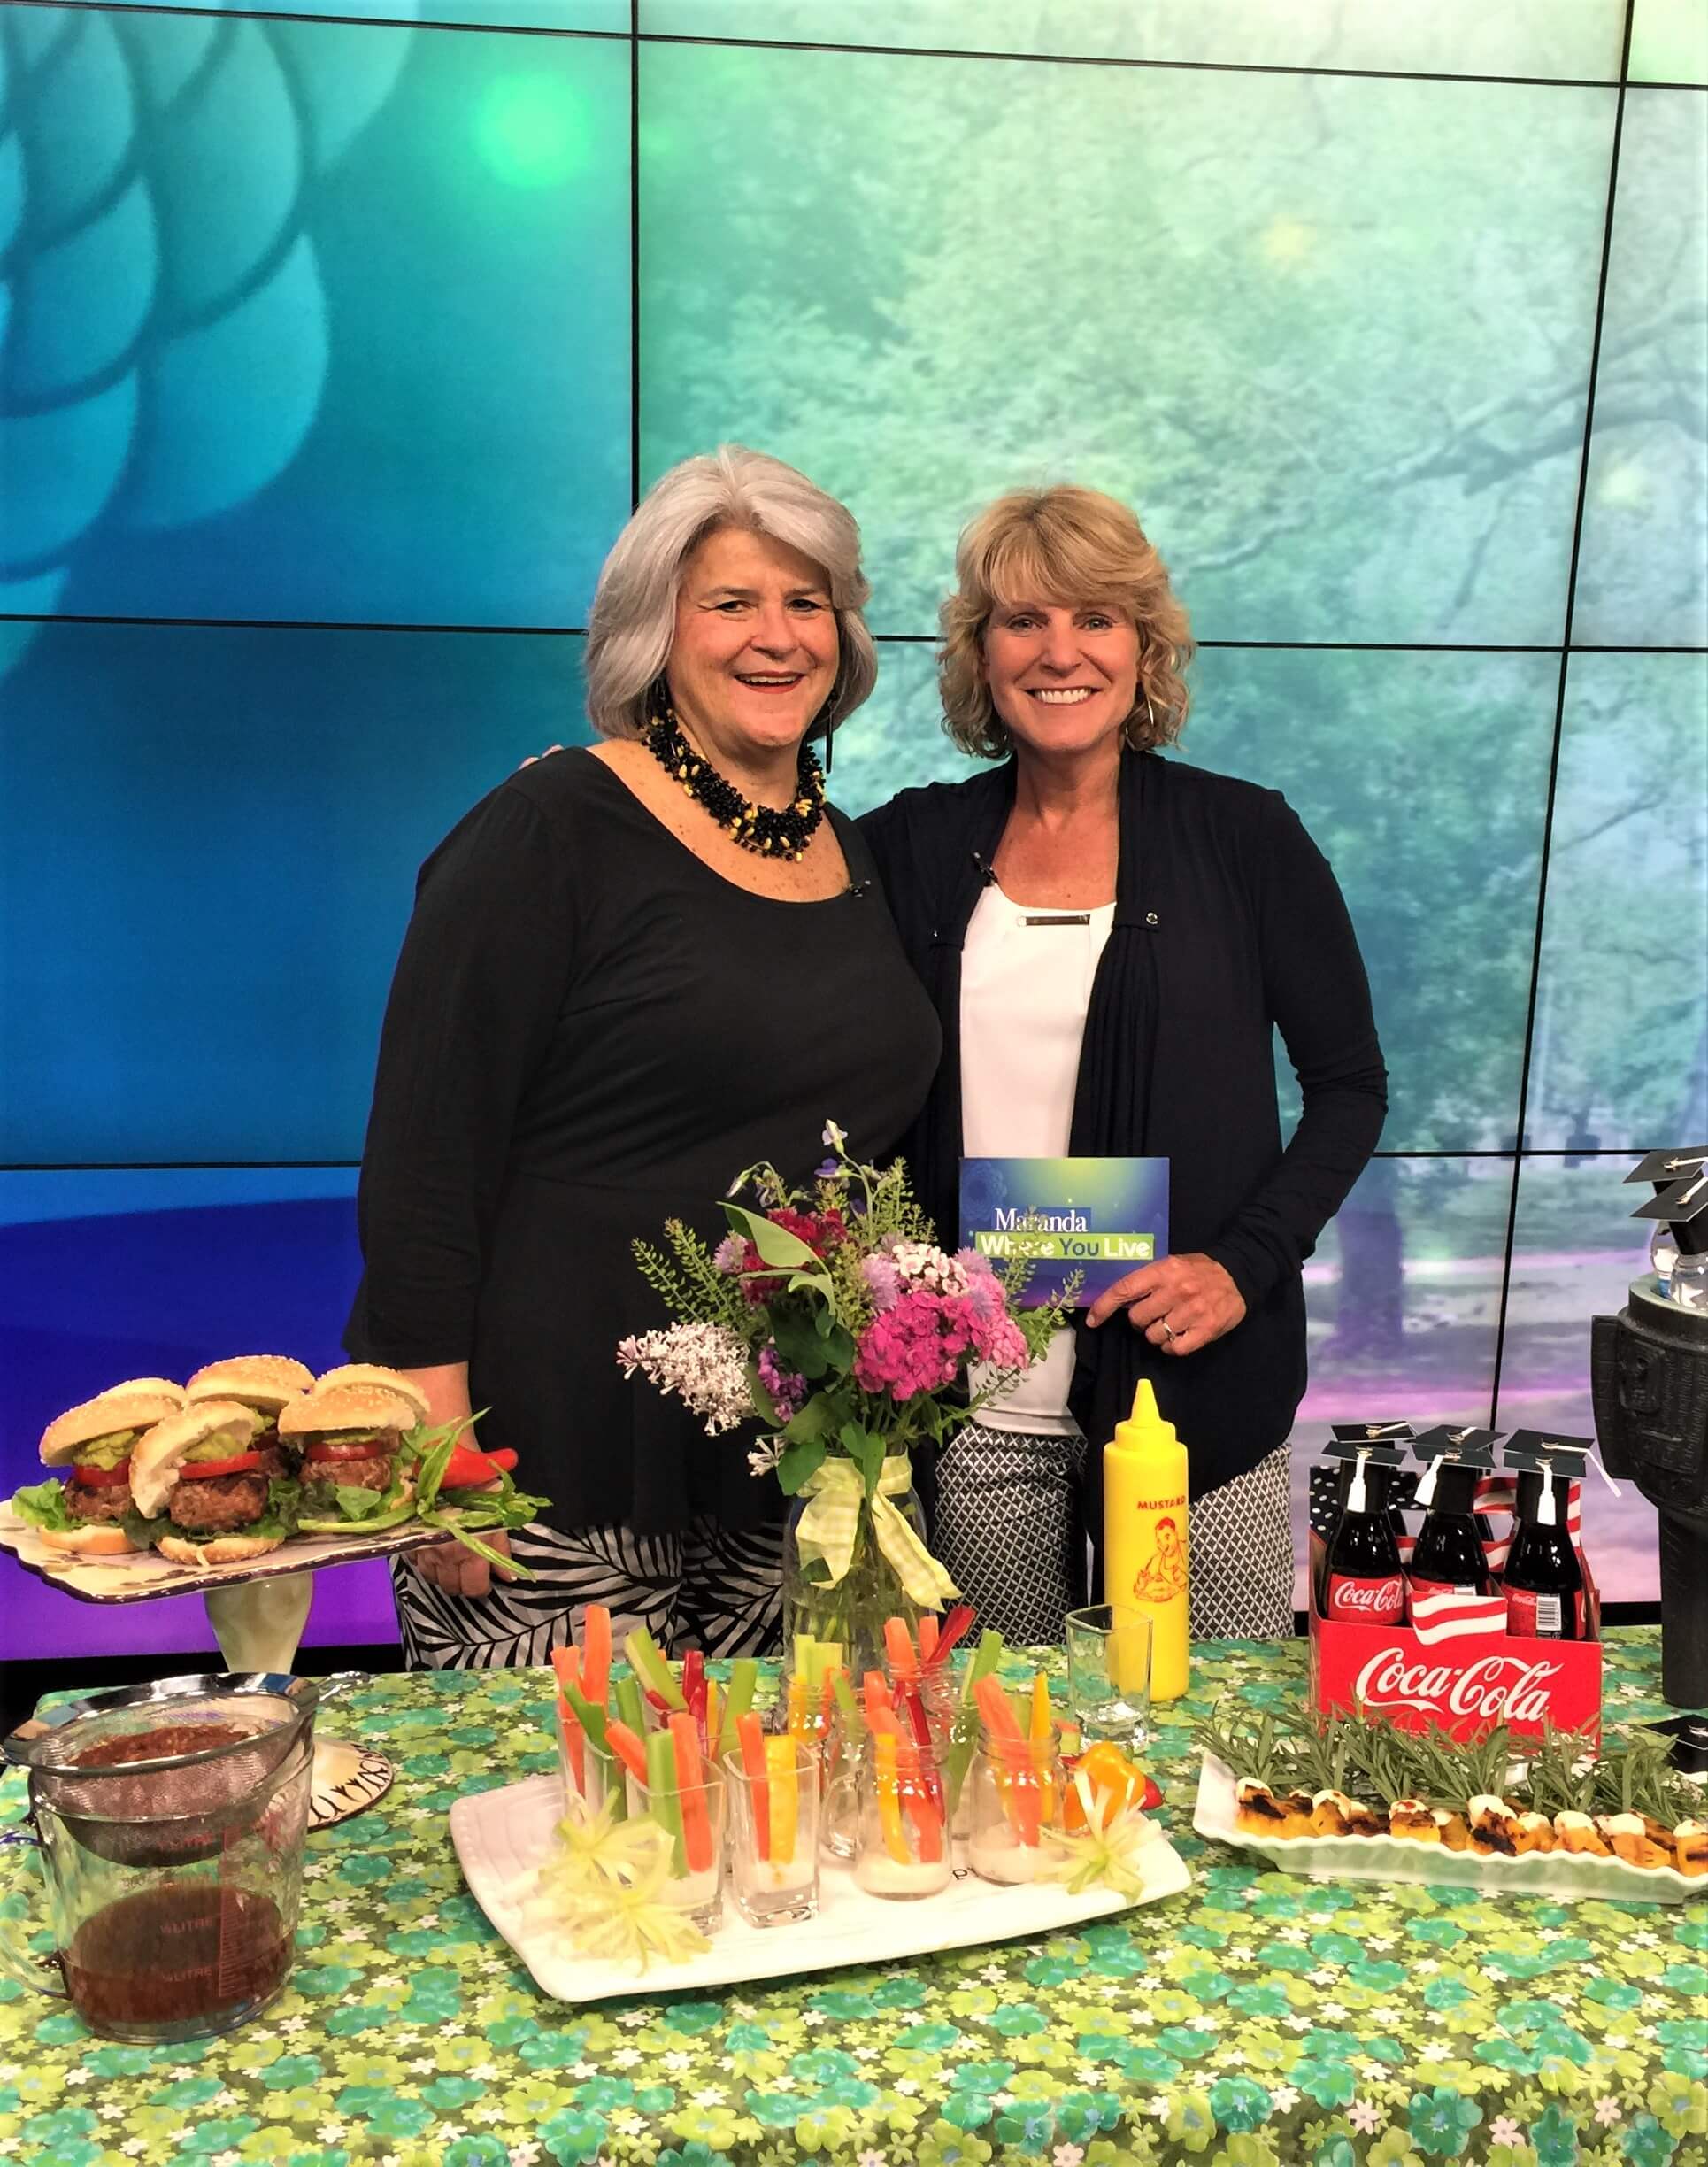
I just had the chance to join Maranda on WOTV 4 Women’s program Maranda Where You Live to share with her viewers some ideas on how to zhouzz up a party –in this case graduation – by adding a few easy details that give it real style. For entertaining, like most things in life, it’s the details that make the difference. Most of these style tips, with just a tweak here or there, will seamlessly slide from graduation, to Father’s Day…even to a wedding celebration. It’s summer entertaining at the brink of the season.
Summer Entertaining – Graduation with Style
I created a graduation celebration, themed around an outdoor event. In Western Michigan, we wait all year for this time. It’s great because the temps are mild, the days are long, and who doesn’t want to keep the masses and that mess outside. One of the tricky parts of any entertaining is how to avoid the long lines that form around buffets. I’m more likely to not at eat at a party than to stand in line, and as a host that is not something you want! To hack that, I created a menu that is grab and go. Everything is pre-served and portable. And I suggest scattering dishes around the patio, grouping two or three items together, to help spread the crowd. It’s best to cluster around a central theme – maybe a vegetarian station, or a dessert station, or together by temperature – the hots, the colds…you get the idea.
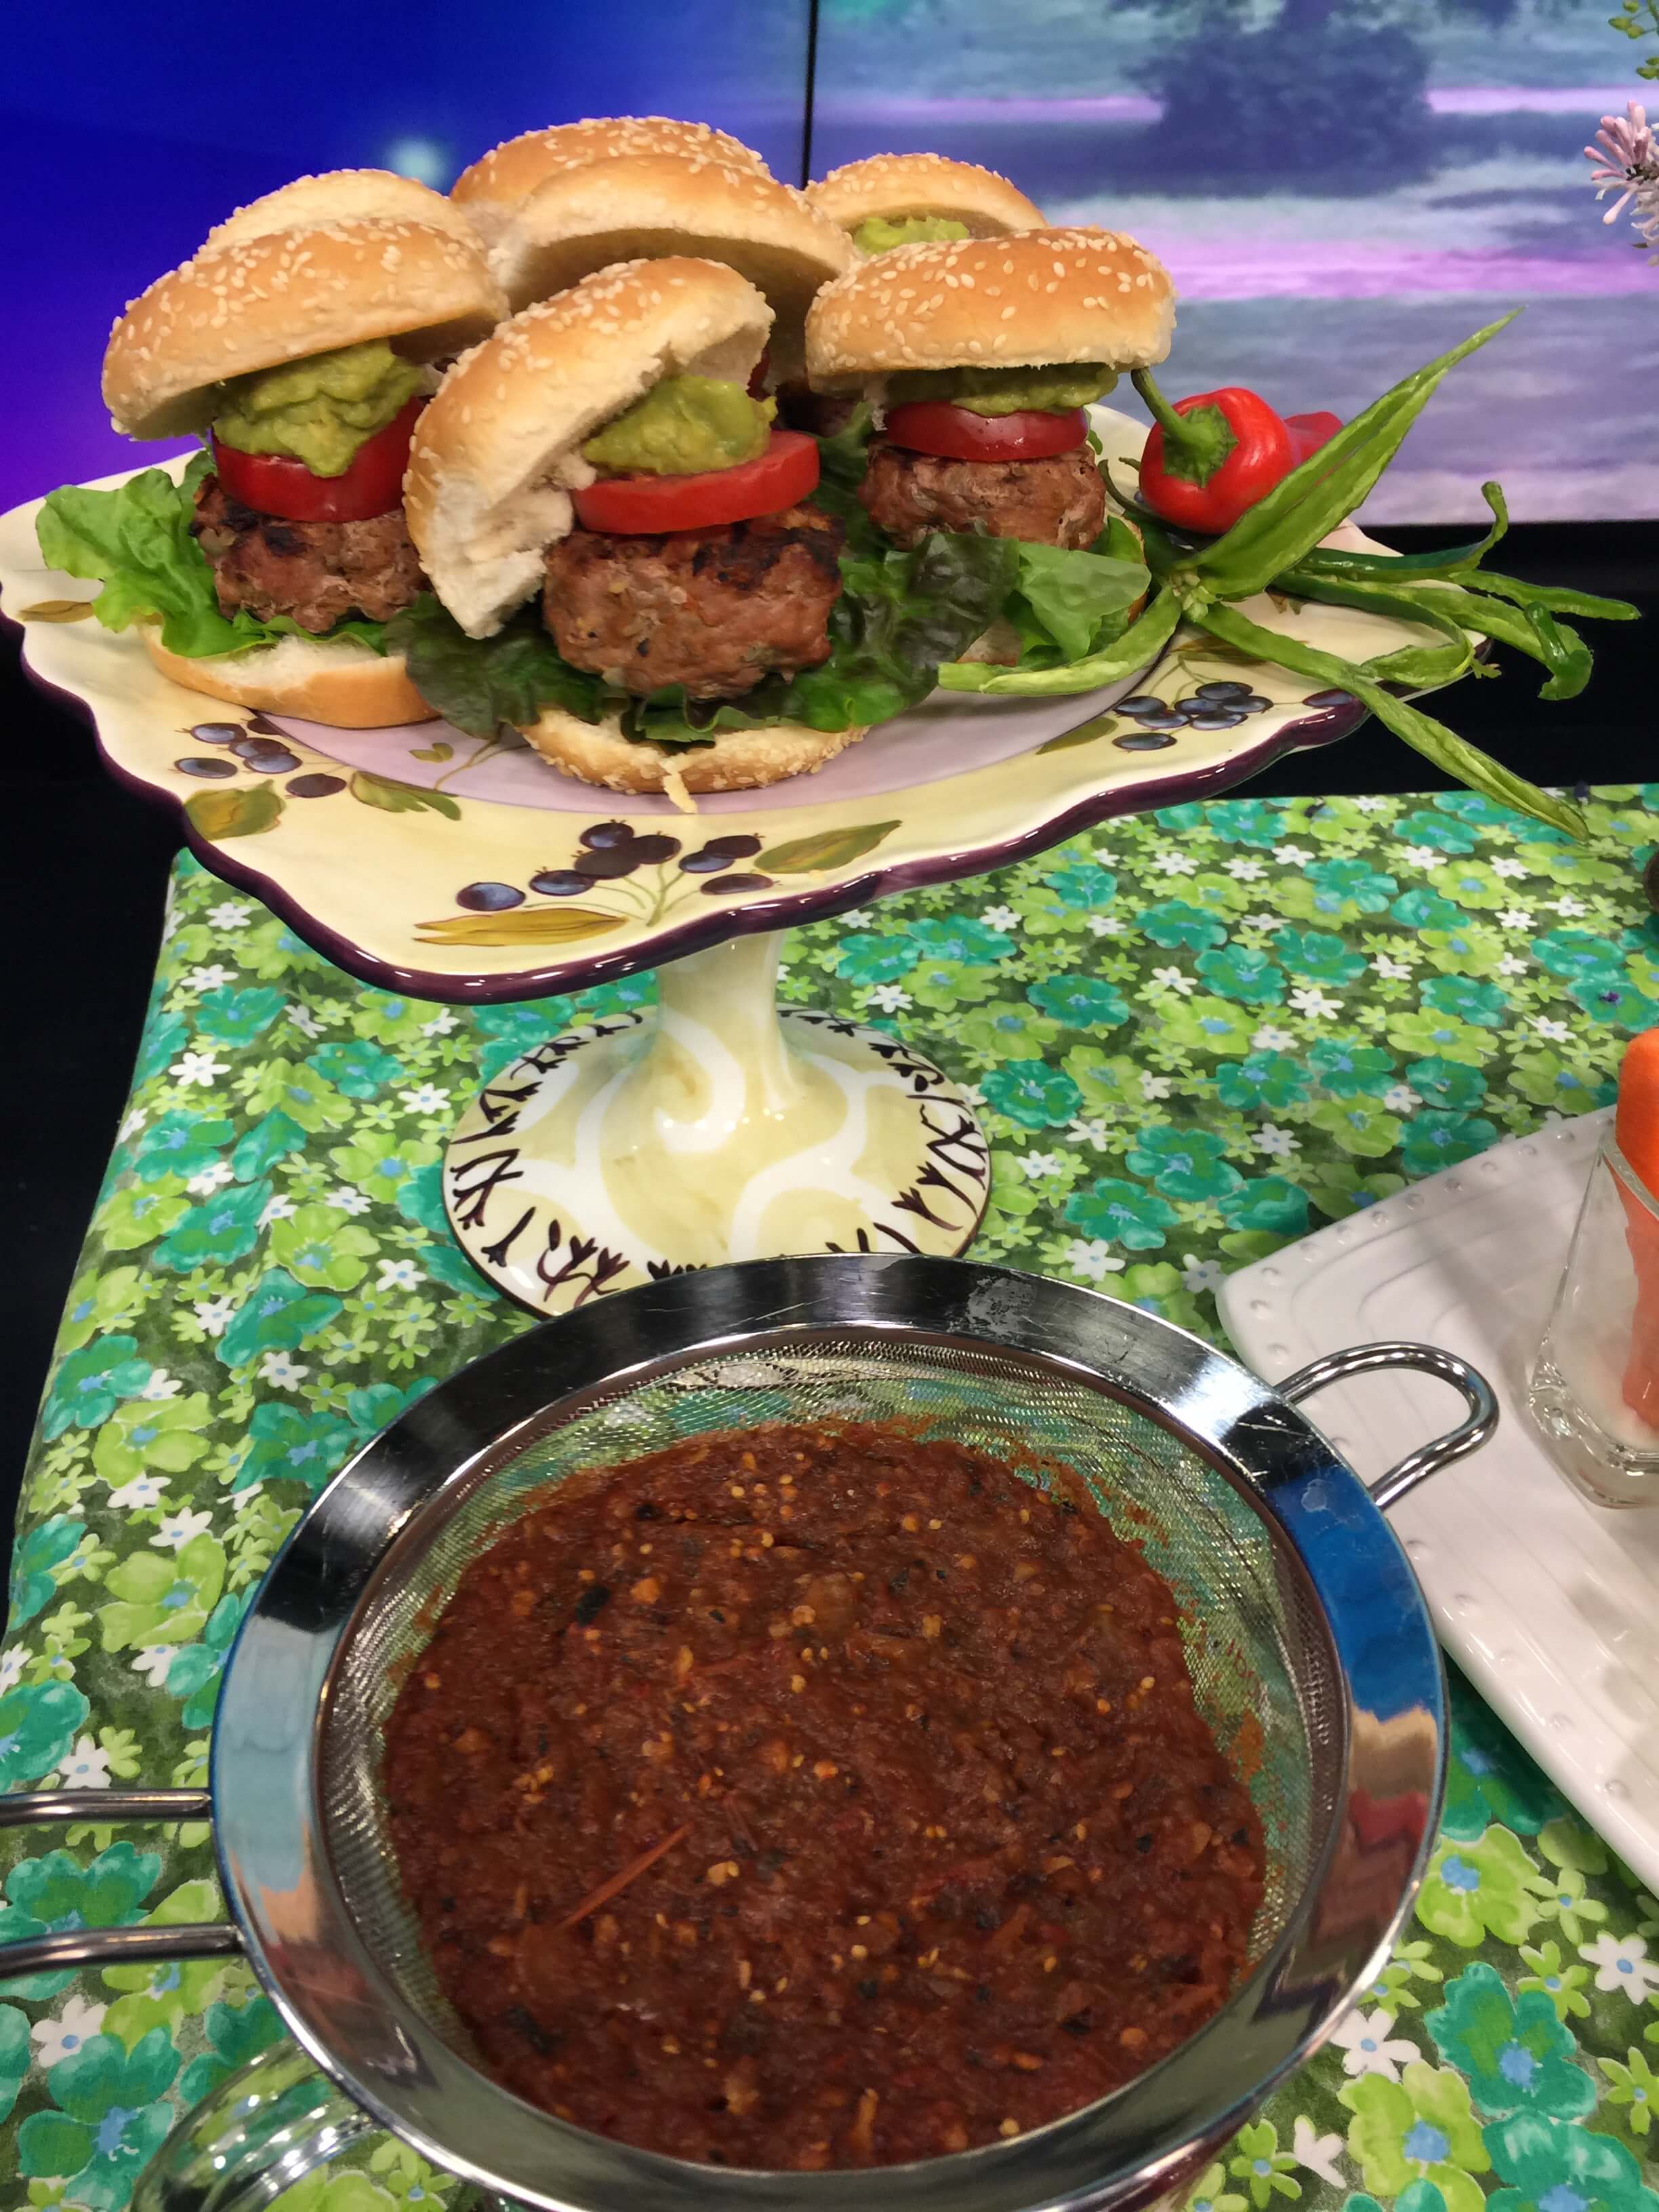
Kicked-Up Southwestern Turkey Burgers
One of the portables that I served was a slider. Assuming you don’t want to grill while you have guests – though I am fully aware that some hosts love that distraction – these turkey burger sliders can be grilled earlier in the day and reheated to serve. But won’t they dry out? Au contraire! By adding a jar of drained salsa to the ground turkey, the flavor profile is kicked up a notch and the salsa adds both moisture and depth of flavor. Its super simple and you are letting the salsa factory do all the heavy lifting of lots of chopping and roasting the chipotle.
Turkey burgers can get a real boost in the flavor profile category by just adding a jar of drained salsa to the ground turkey. The salsa adds both moisture and depth of flavor. Why not let the salsa factory do all the heavy lifting by roasting chipotles and doing all the chopping for you. More time to enjoy, less time in the kitchen.
Ingredients
Scale
16 ounce jar of favorite salsa, drained and liquid discarded (or saved to season a sauce)
3 pounds ground turkey
3 shallots, chopped
2 teaspoons ground cumin
1 teaspoon salt
1/2 teaspoon ground black pepper
Instructions
Pour the salsa into a fine mesh strainer, set over a bowl to drain. Set aside for 20 minutes or more until the liquid has been released.
Mix the turkey, drained salsa, shallots, cumin, salt and pepper by hand until mixed through and shape into patties.
Grill over a medium-hot fire until cooked through (timing depends on burger size). Poultry should always be thoroughly cooked.
Notes
These are best made ahead and left to chill in the refrigerator for an hour or up to a day or two. This gives the patty time to firm up.
They also freeze really well, and so I tend to make a large batch and wrap in plastic wrap, individually. I spread them out on a tray to freeze. Then once frozen solid, I transfer to a big Ziploc.
Prep Time:10 minutes (plus draining and chilling time)
Cook Time:20 minutes
Category:Mains
Method:Grilling
Cuisine:Southwestern
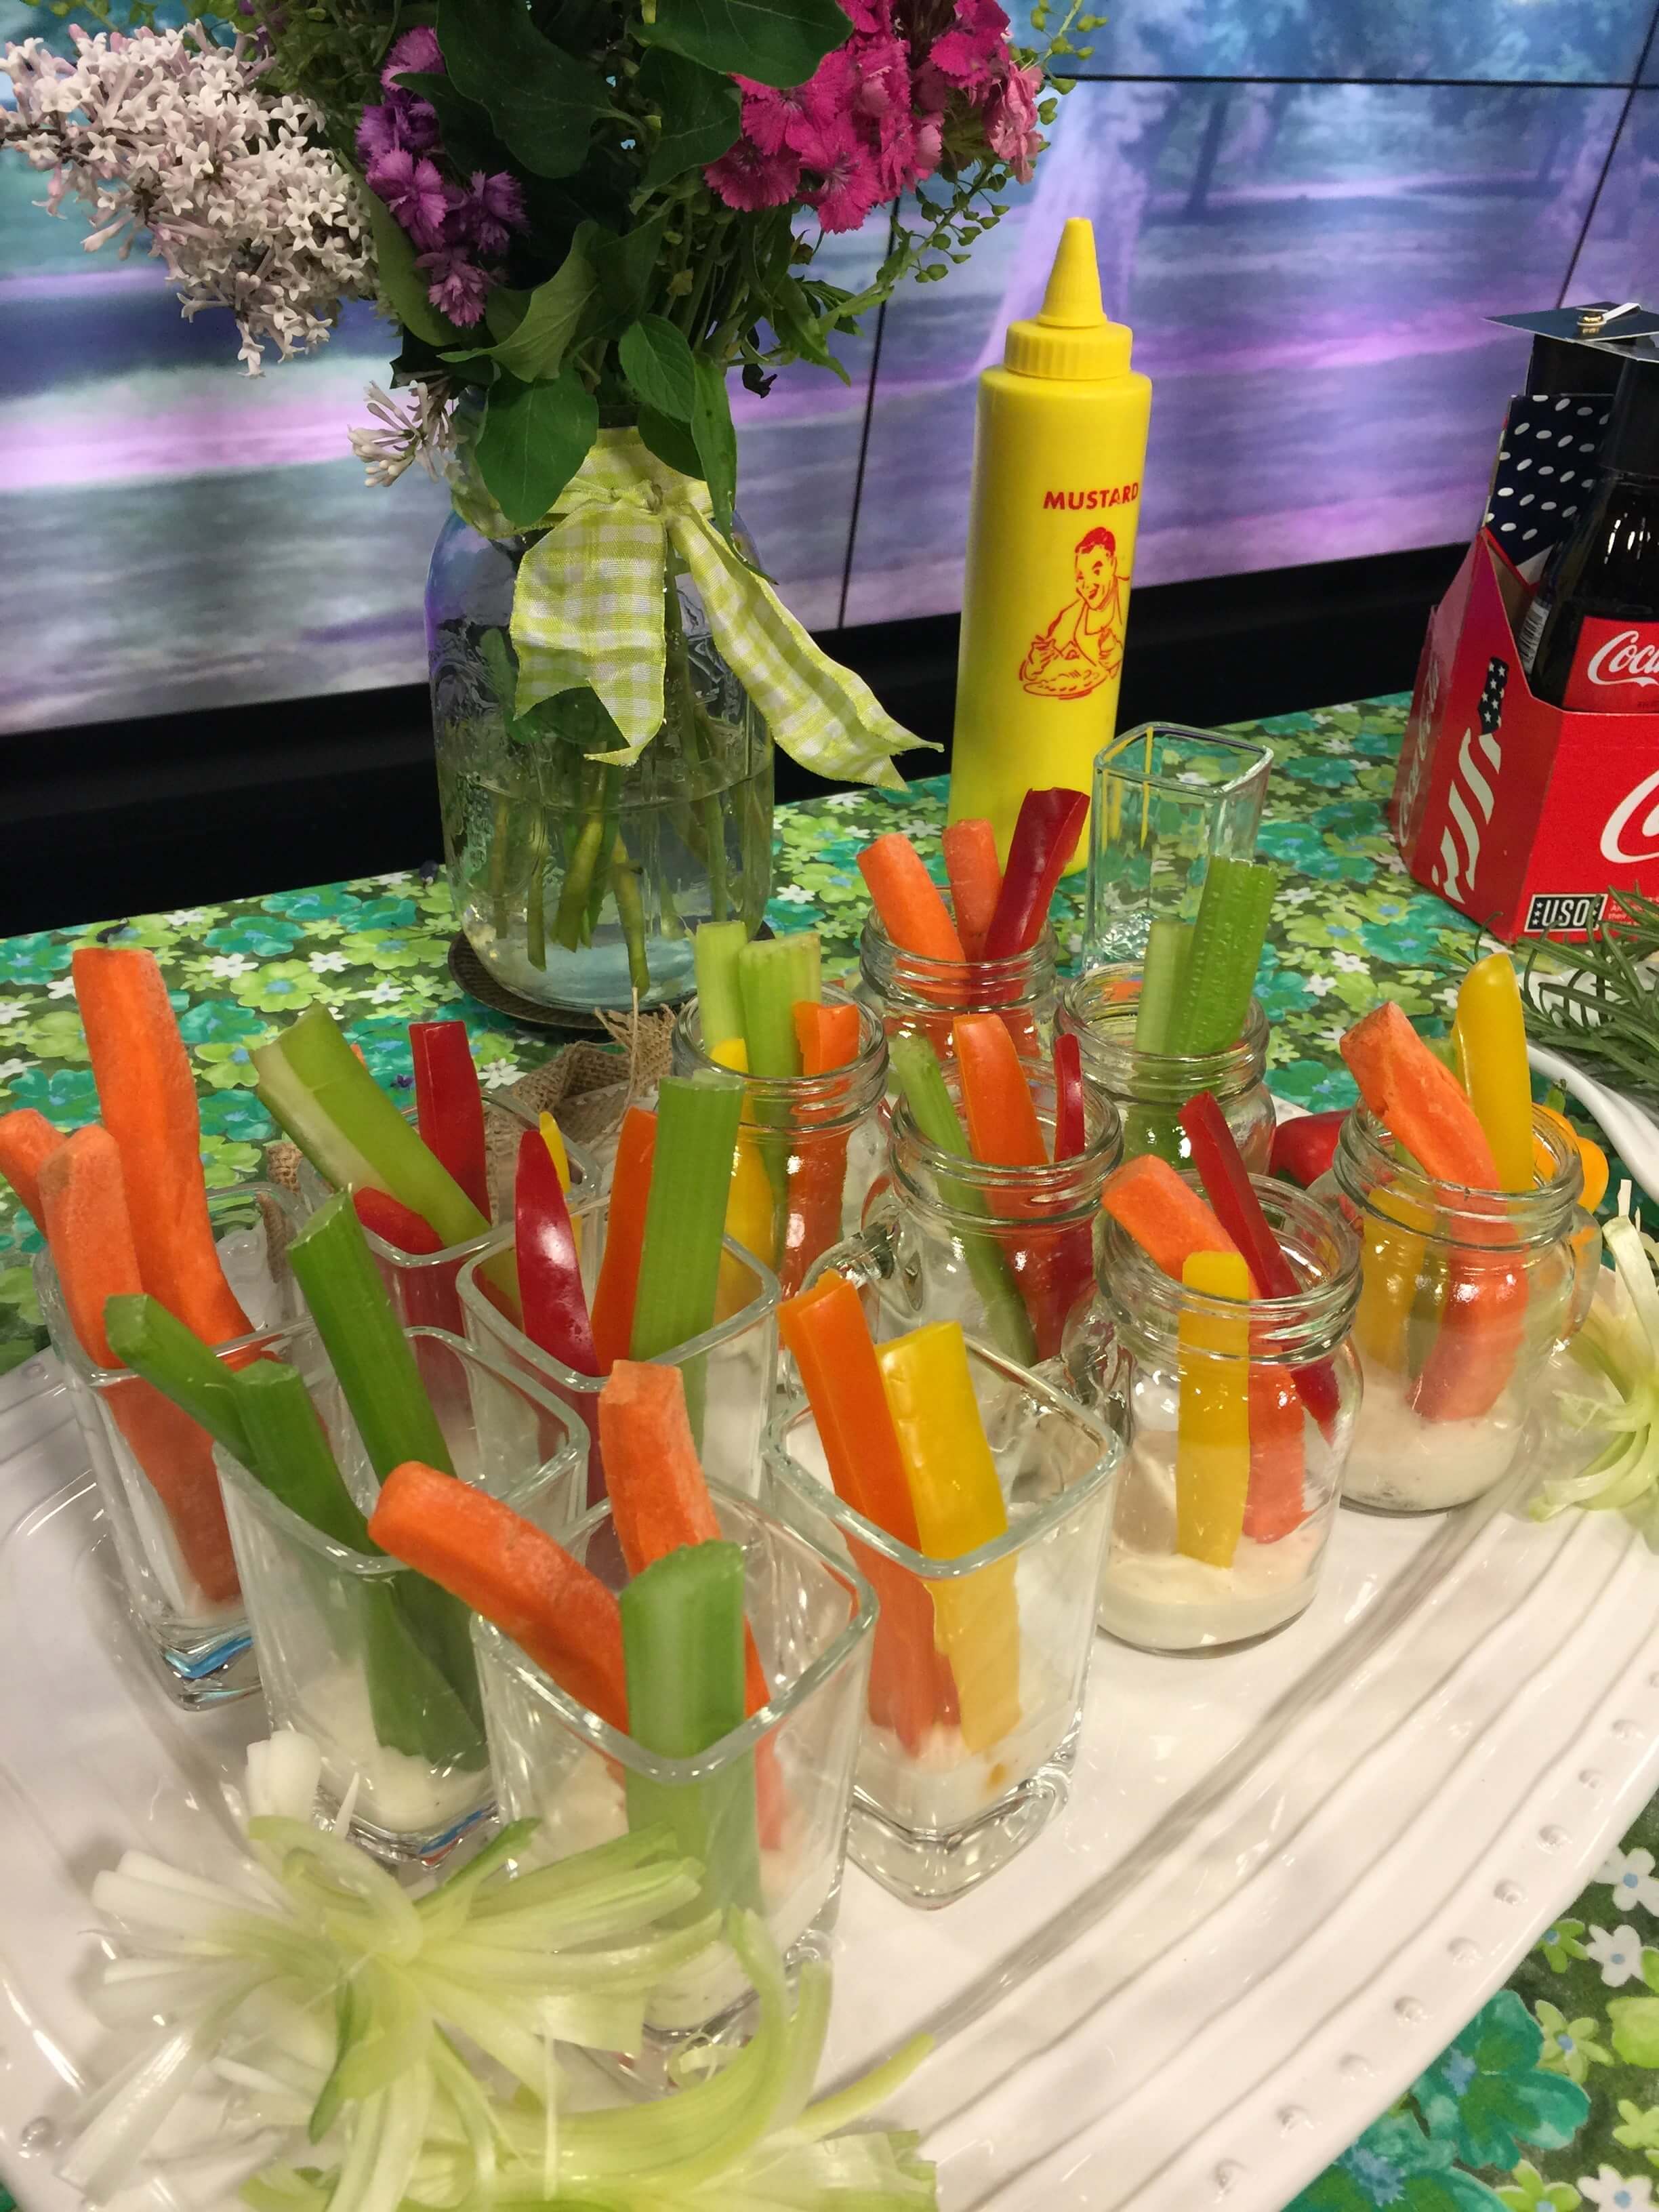
Veggie Shooters
The next idea I showed was veggie shooters – using a shot glass or even a disposable clear plastic. By transferring the ranch dressing to a squeeze bottle (think diner ketchup or mustard bottle), you can put a squirt in the bottom of each shot glass without “sliming” the sides. Then just tuck in an assortment of fresh veggies – carrot sticks, celery, multi-color peppers, snow peas. And I tuck different combinations in each glass because not everyone will like them all, so pick let your guests pick what suits them. Could this be any cuter?
For all the dishes, both savory and sweet, I used herbs, flowers and vegetables to create super simple garnishes for each tray. It’s that little extra touch that will let your guests know you “THOUGHT OF EVERYTHING”!!
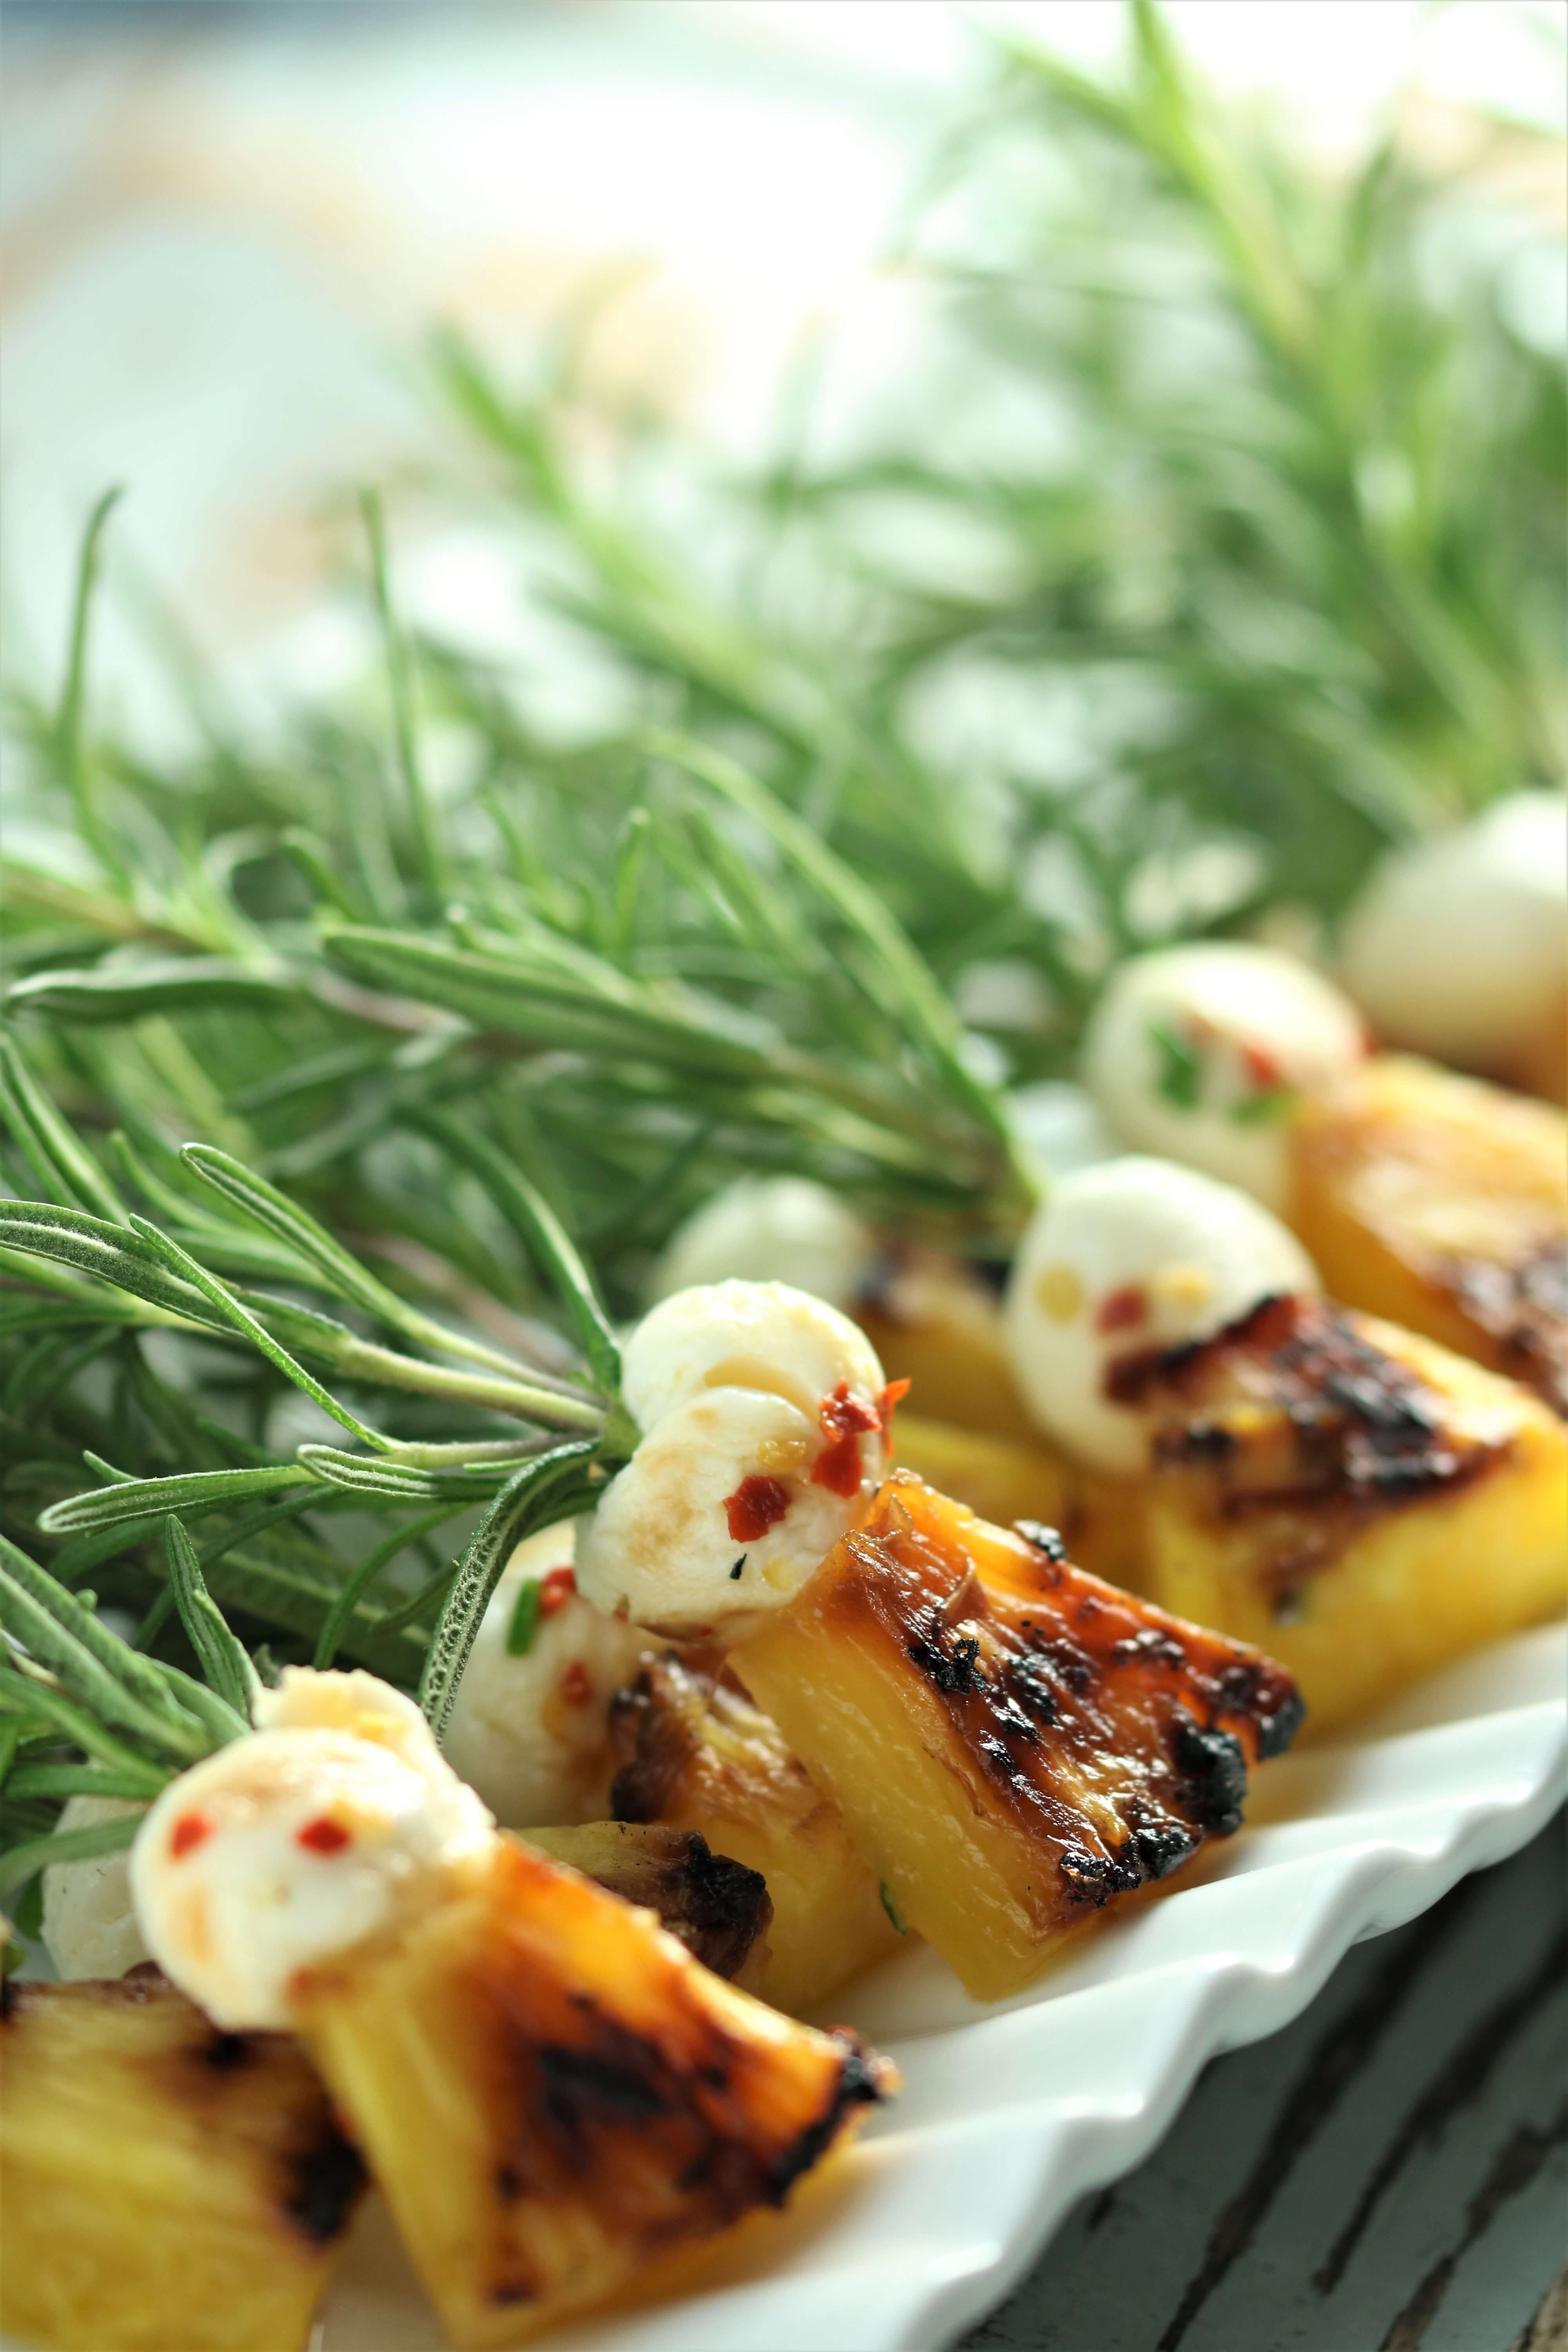
Fresh Mozzarella and Grilled Pineapple Skewers
For the last savory dish, I used rosemary sprigs in lieu of toothpicks – both flavorful and adorable. I marinated some mini mozzarella and grilled pineapple rings, then assembled. Very fresh tasting! Be sure to get the pot of rosemary at the nursery or garden center and plant what remains in your herb bed so it can regrow…because you ARE going to want to do this again. Cut the sprig with sharp scissors so you get a point and remove the bottom few leaves to create the “pick”.
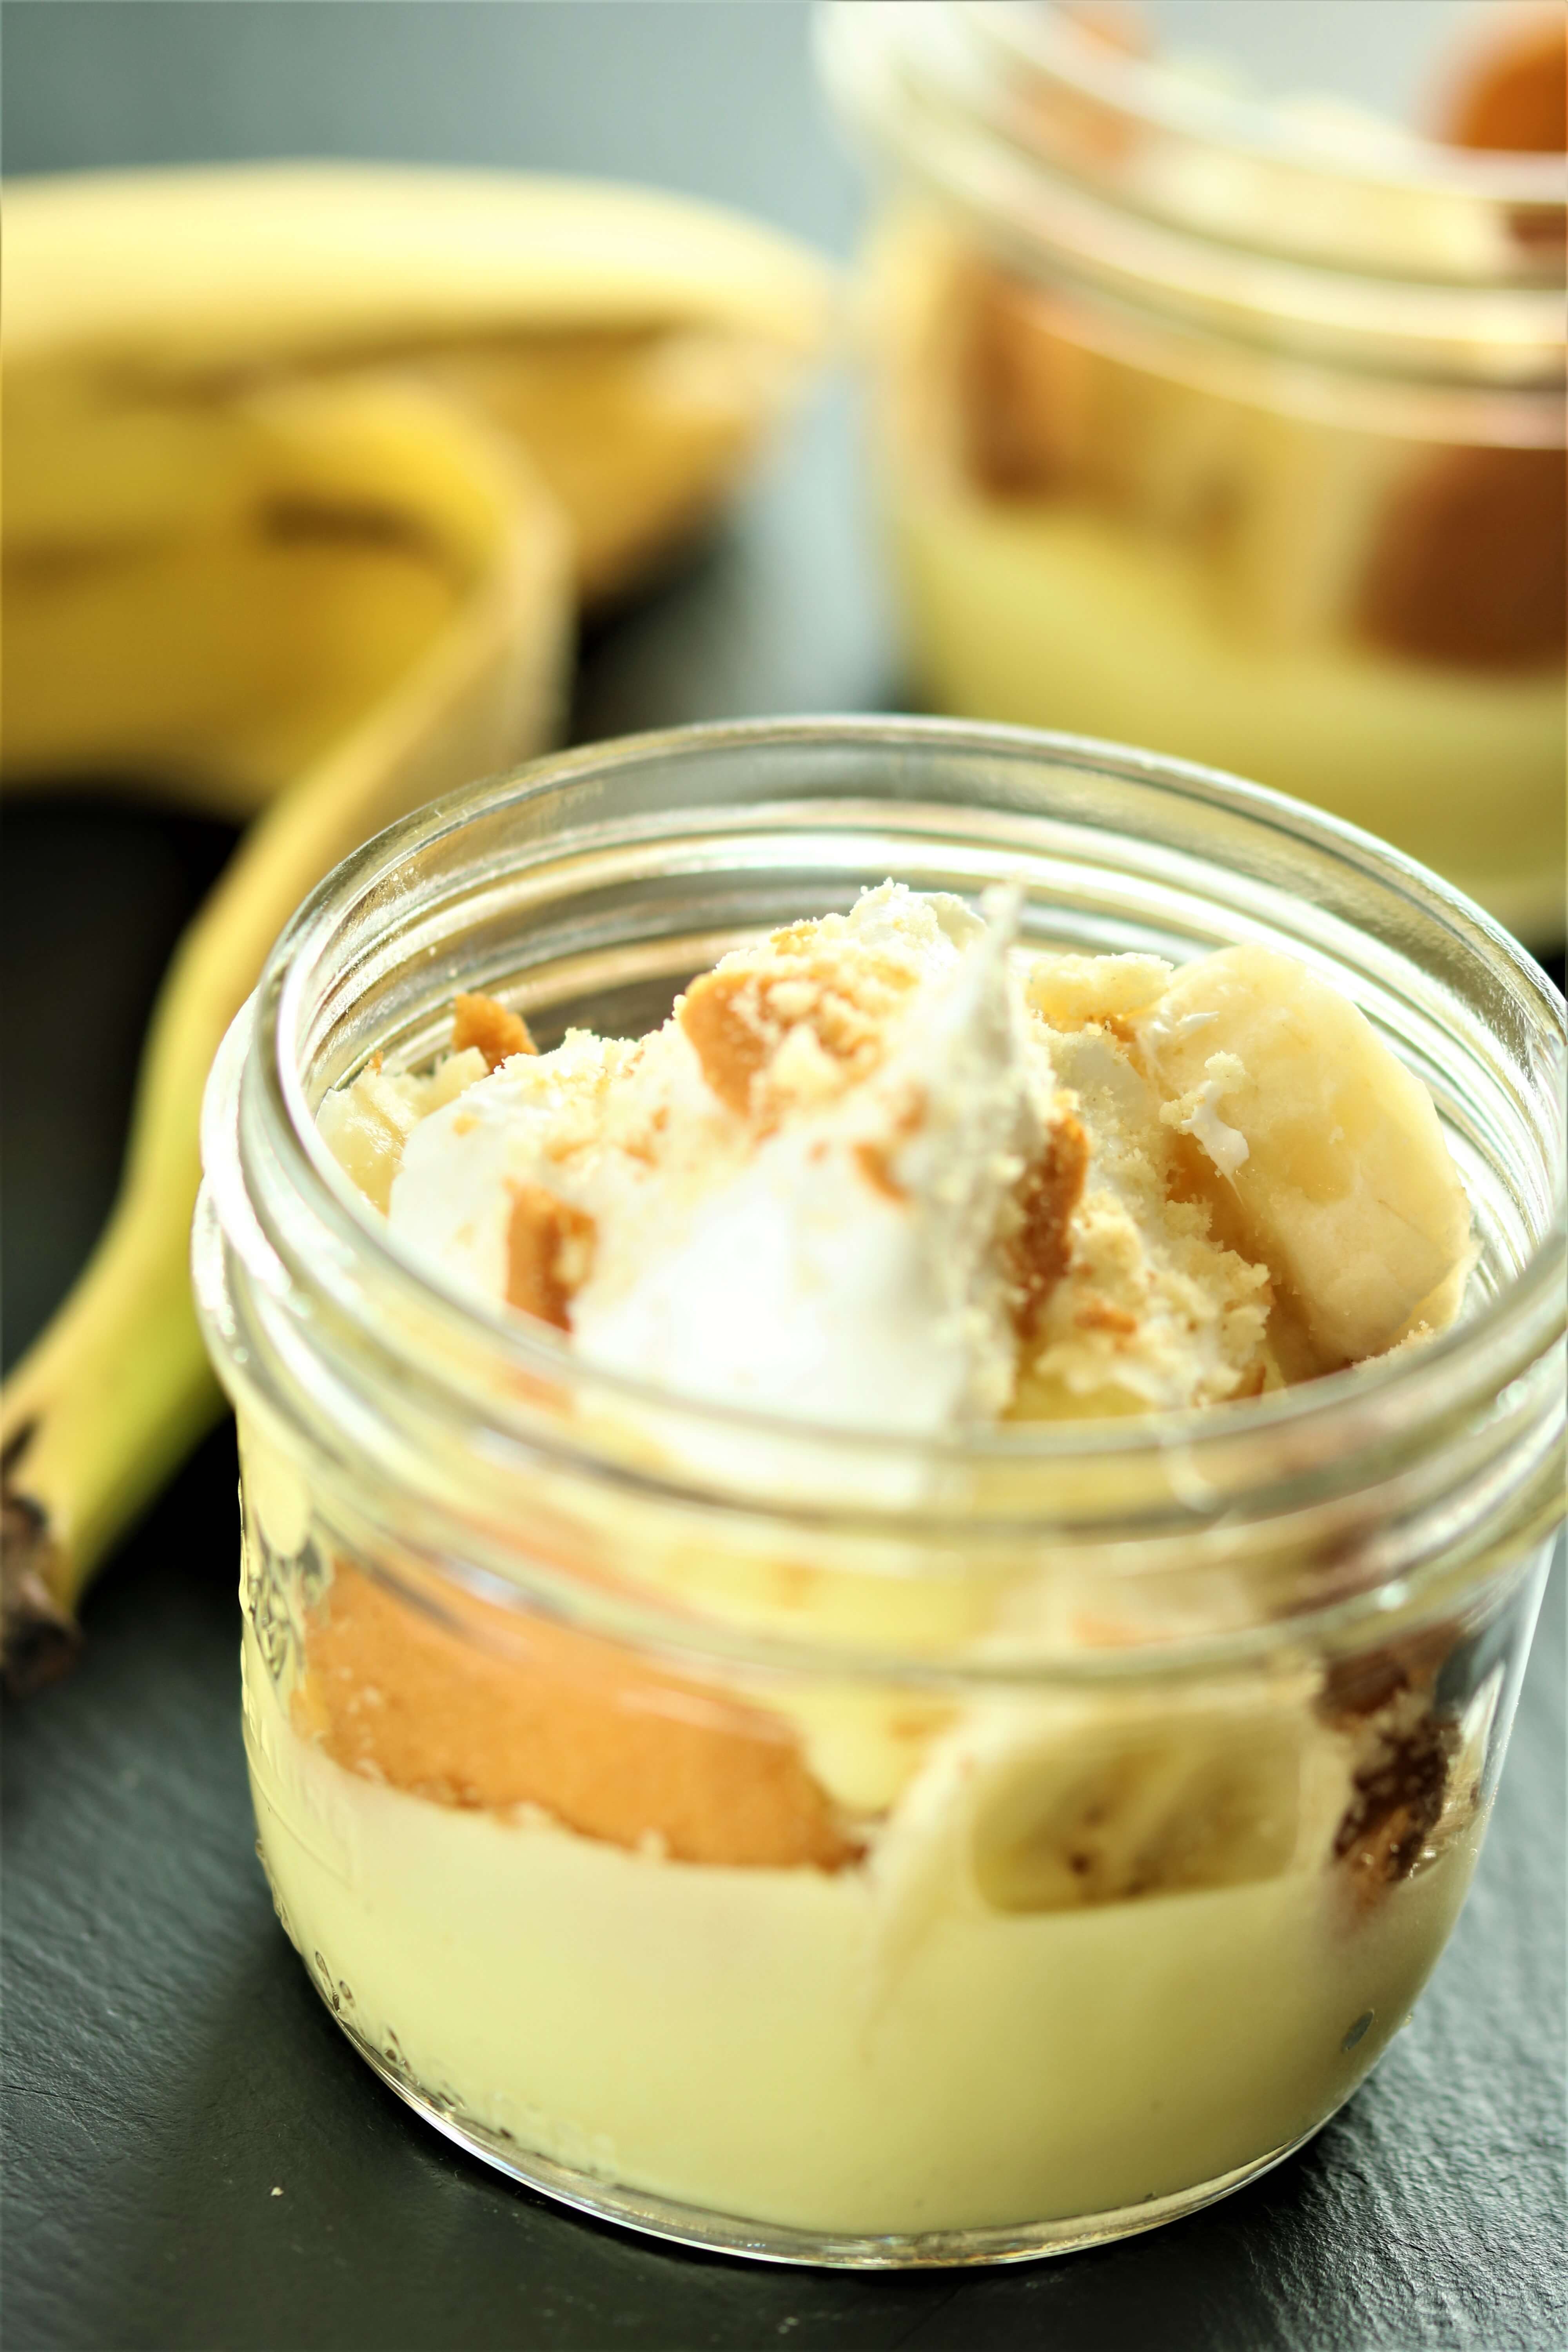
Mini Banana Cream Pies
For dessert and continuing with the portable idea – in this case pie – I used mason jars to create individual banana cream pies. This is a no-recipe recipe and takes good advantage of all basic supermarket items: vanilla wafers, banana pudding (2 minutes to mix with cold milk), sliced bananas and some whipped topping. Crush a few more wafers on top. Sometimes super cute goes a long way to mask shortcut cooking. Shhh don’t tell anyone. That’s a professional tip and I could get kicked out of my professional tip society. This dish lands squarely in the “People Love It!” category. A+!
Diploma Cookies
And then just because I could……diploma cookies – using packaged pirouette cookies, tied with a ribbon. Adorable. Easy. Win. Win.
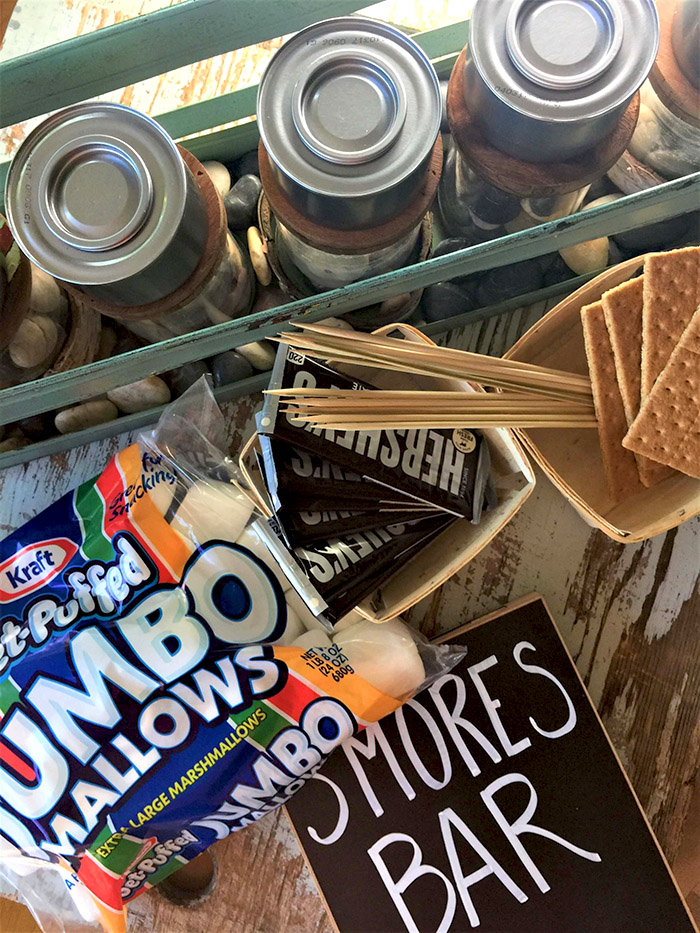
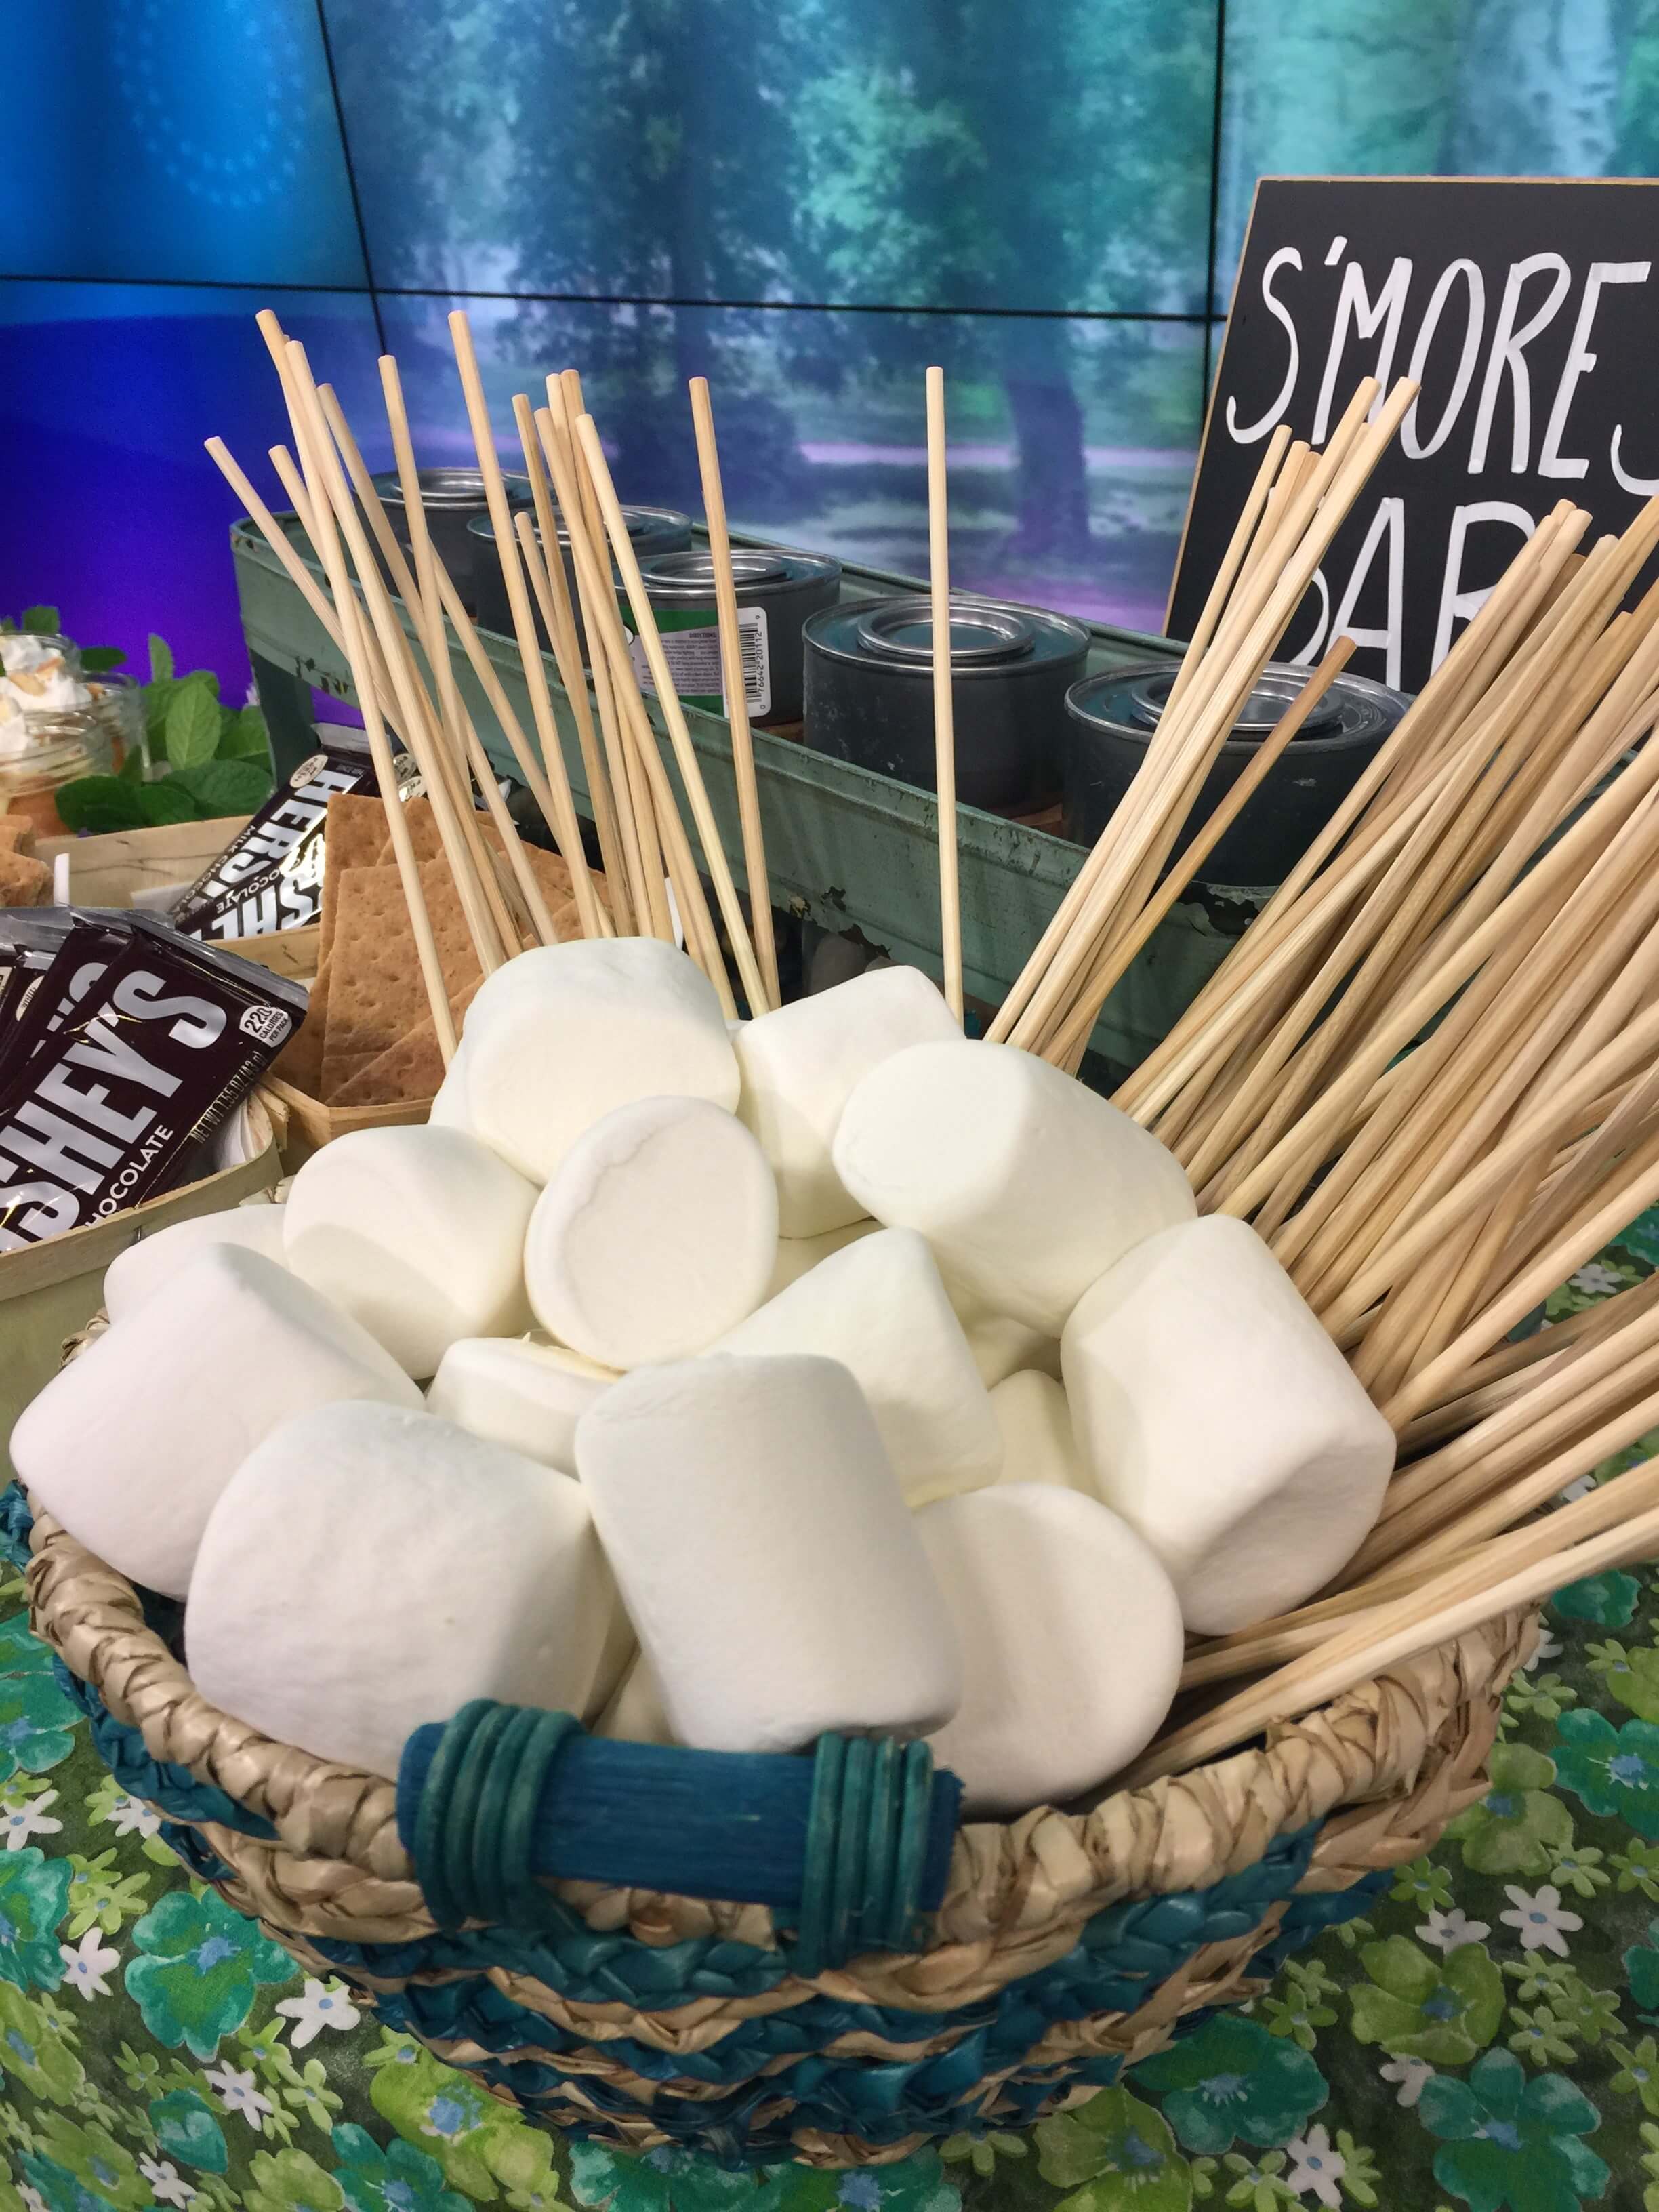
DIY S’mores
There is always a pride of ownership when you contribute to a meal, so let your guests help cook dessert with a DIY S’mores Bar – featuring GIANT Kraft Jet-Puffed marshmallows. (I’m personal friends with JP, the Jet-Puffed guy!)
There are a lot of ways to set up the fuel station – creating a bed of river rock – or even charcoal briquettes as a prop – to surround the fuel. Make sure to place this in a low wind area, with proper ventilation and pay attention to potential flammables, keeping them far away. (It wouldn’t hurt to have a fire extinguisher under the table, because like an umbrella, if you have it, you won’t need it). Now you can find Green Heat products that are environmentally friendly and bio-degradable, as well as safe for direct contact with food. They are plant-derived, and come from corn-based ethanol and are non-toxic. Look for those – good for you, good for the planet.
Making Memories
I ended the segment with a couple ways to make memories, something that is important for every celebration. Using a Jenga set – along with a bunch of markers – guests can add their wishes or advice, date and sign it – and the grad will have a keepsake to remember this day forever. Can you imagine the day when Bubba Junior will be playing Jenga with his grandchildren and a smile will cross his face thinking about this incredible party you hosted – back when?
And the final portable for the party: a photo booth. Along with a few photo booth-type props (mortarboards on a stick) and one giant frame, this show can go on the road….grabbing photos of the grad and guests throughout the party. The frame can be decorated for a princess, a sports career, or the college that lies ahead. Just screw a couple drawer pulls into the back so all those in the photograph can help hold it. By being hand-held, this has the added advantage of going from portrait to landscape orientation and from straight on to cockeyed. That variety of angles will inspire a lot of candid moments, making for a great souvenir photo book which you can give at Christmas when your grad comes home from college! And what a great chance to reinforce the idea of gratitude. He can print the photos and write the guests a note of thanks …for the support …for the gift… for being part of the day. Just slap a stamp on it and mail a photo of the guest and grad enjoying this wonderful celebration.
Have Fun! And that’s an order!!!
The most important thing to remember is to enjoy the day. You have worked hard for whatever it is you are celebrating – getting a child through school, walked down the aisle, or even your own significant anniversary – put your focus on planning and prepping, but the minute the doorbell rings, close the door on stress and open the front door with a big old smile to greet your guests. This day is as much about your achievements as those of your graduate. No matter how awry a plan may have gone, no one but you will know. In the business, we have a saying no matter how a dish turns out: “That’s the way we like it.” That might be the most important lesson I ever learned from Anna Teresa Callen, the great Italian cooking teacher. She’d just shake her head and smile and in her wonderful Italian lilt, whisper….”Ah! That’s the way I like it!”
Thank you Maranada for the kind invitation! And the rest of you, check out the segment on Maranda Where You Live!
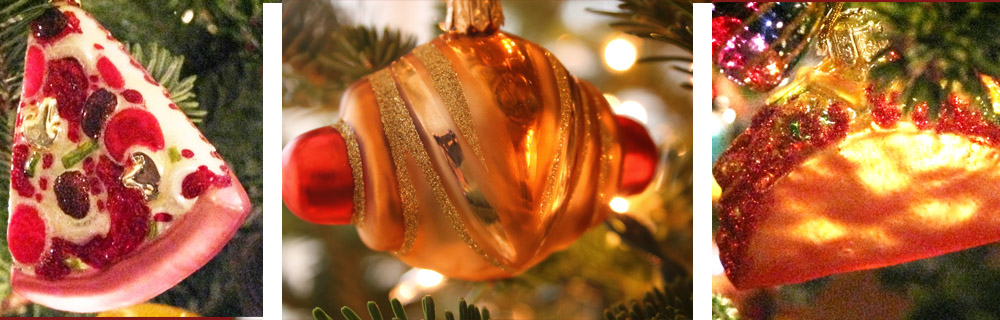
Well Ho Ho Ho and a Jingle Bells to you!! Don’t you have something better to do today than read my blog? I’m flashing back to last year’s ornament post with a few updates because where else will you find all this fantastic holiday-ness before it goes back in the closet for another year. (That’s pretty much a lie because I really just finished my tree, so it will probably be up for most of the next month). Sigh. I’ll miss my little friends. I didn’t grow up with a Christmas tradition of food ornaments, but I’m pretty sure it’s only because we were separated at birth. We just go together. Like ham & swiss, sushi & wasabi, or bacon & eggs. Dare I say, this is the most extensive collection of food ornaments on this planet. I am nothing if not thorough.
If you haven’t been following my Facebook posts, this is the fourth year of my 25 Days of Christmas (ornaments). Everyone always asks if “this is a new one?” They are all new ones, people. No repeats in the four years!!! However today – one time deal – I am offering up a curated collection for your review – the best of 2013, 14, 15 and 16 – plus if you make it through to the end, a couple of new and never-before-seen specials. Can you spot the new ones? If so, please comment. Let me know you are paying attention!
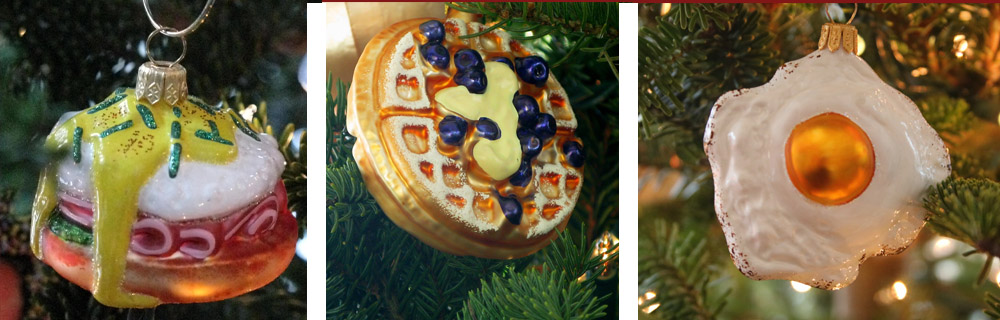
To kick it off – how about a little breakfast – Eggs B? Waffles? Sunnyside up??
With a side of bacon – extra crispy please!
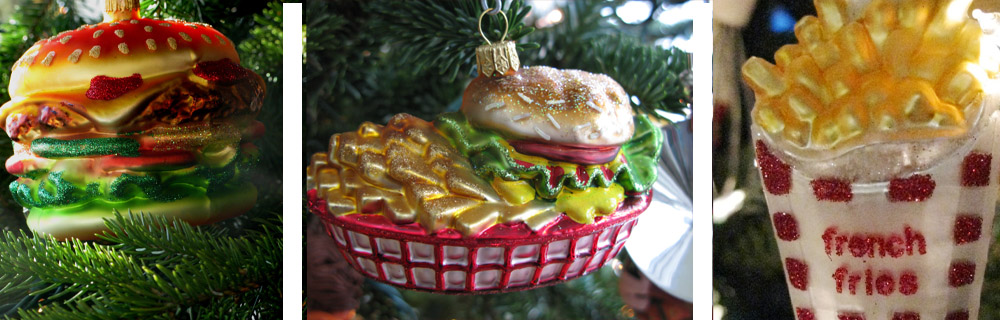
Still hungry? Would you like fries with that?
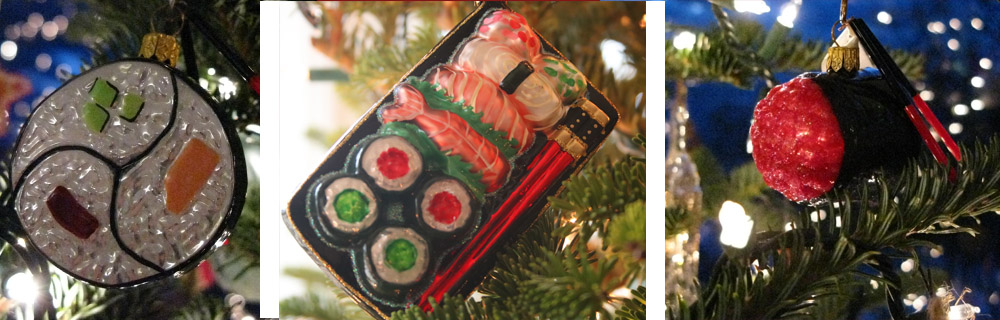
Or how about some sushi?
Feeling thirsty?? I know I am. Always! Straight up with olives, please.
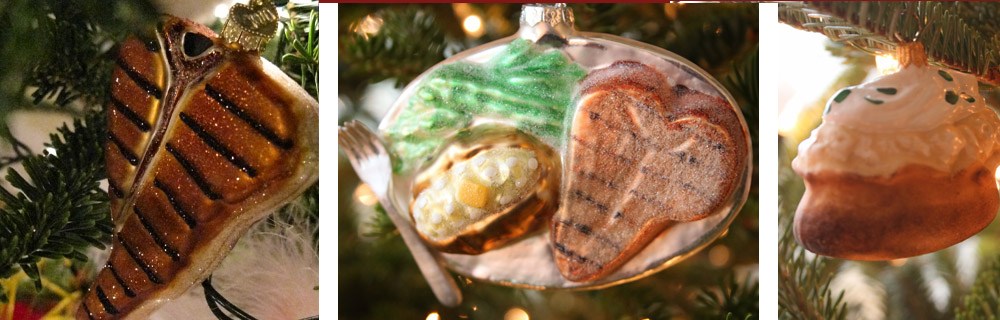
Ahhhhhhhhhhhhhhhhh dinner time. I’m a Hoosier at heart – steak and spuds for me.
Personally I’d like to go back to the “straight up with olives” course, but for those of you with a sweet tooth, here you go.
Feeling snack-ish – Pizza? Pigs? Tacos?
Around here, the ice cream stand doubles as the Christmas tree stand – triple scoop with a side of Fraser fir? No problem!
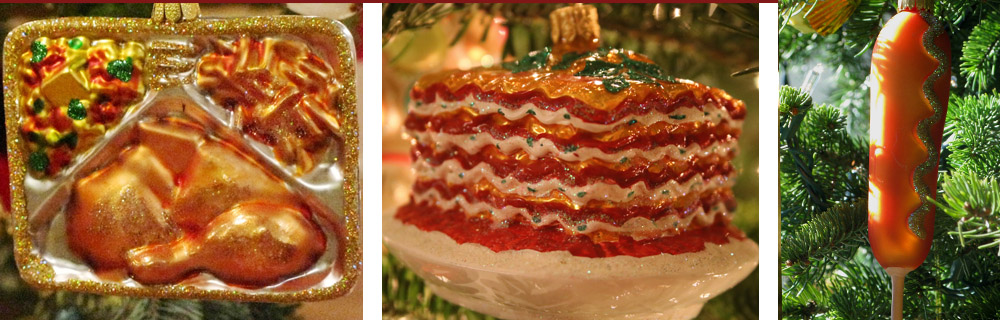
And before we go, here are my personal favorites…..TV Dinner (who thought of that? Genius!!), Lasagna, and Corn Dog (a salute to Naomi Judd whose corndogs I once prepped for the Letterman show).
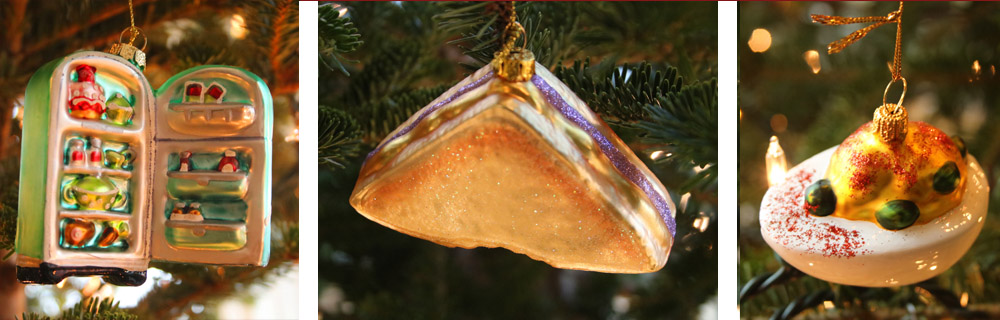
And lastly for that late night fridge raid – Santa, I’m talking to you – PB&J and a deviled egg. No accounting for taste!!
Wishing you and yours a very merry. And a big heartfelt thanks for being a loyal reader. I will be right back here in early January. Don’t forget to eat your black eyed peas (Sunday) and wear your red knickers (Saturday night) for the best of luck in the new year.
I’ll be back reeeeeeeeeeeeeeeeaaaaaaaaaaalll soon! XO
It’s impossible for me to wrap my brain around the holidays without thinking about family and reflecting on memories from childhood. Especially when it comes to food. English toffee? Yaas!!! All those special meals and holiday traditions that started in the kitchen. Hells Yaas!!! I was lucky enough to have three amazing women (four, if you count Florence on whom they all relied) that each had their own special place in the kitchen. Mom read Gourmet magazine in the 60s and was the first of all my friend’s mothers to make spinach dip. In a bread bowl. Mic drop! She loved party-fied food and was always looking for that next something special that was sure to dazzle. Her mother – Gaga – was legend for fancy food. Crab bisque with a splash of sherry or Belgian waffles dusted with powdered sugar. To be fair, I mainly saw her at holidays and birthdays so my sampling may not be statistically valid and may show a bit of bias. But when it came to Christmas cooking, nobody beat Grandmother Keck (“don’t call me Gramma!!!”). She was well known in our small town and she shared her holiday baking with all. Her English toffee was the best in town. JMHO.
Actually, all her Christmas candy made her a rock star – date balls, divinity, chocolate salted-peanut clusters, apricot balls and what she called butterscotch. It was really toffee. The thing that stands out in my mind is that I don’t have a single written recipe of hers. I think she just really knew how to cook. I have recipes from the other three women, but not her. Yet I can trace many of the things I know how to make straight to her. She was nearly 70 when I was born (she’s the one on the right in this photo) and had had more than a few years to hone her kitchen skills. This photo is from my baptism which was on December 18….a few years ago. As the story goes, city water was out and the font was dry, so they sourced my eternal life spring from a church furnace. It really explains so much when you think about it.
I spent a good bit of time cooking with Grandmother and usually came home and wrote it all down. I have to smile when I see in my handwriting a note on chess pies: don’t remove the pie from the oven when you set it back. Even then my computational brain was worried that turning the oven down might result in a period when the temperature was between the high temperature and the more moderate one and that would not be correct. Should I wait til it reaches the new temp? I understand that little girl’s thinking so well. Her baking skills were not so great – removing a pie mid-bake would be disastrous – but she asked the right questions.
I had not made butterscotch in many decades when I made it three years ago. I didn’t even have to look for proportions because it was so clearly ingrained on my brain. I call for 14 Tablespoons of butter below but the way Grandmother told me: use two sticks of butter and take 1 Tablespoon off of each. Add 1 pound of brown sugar. Boom. Done. Never forgot it.
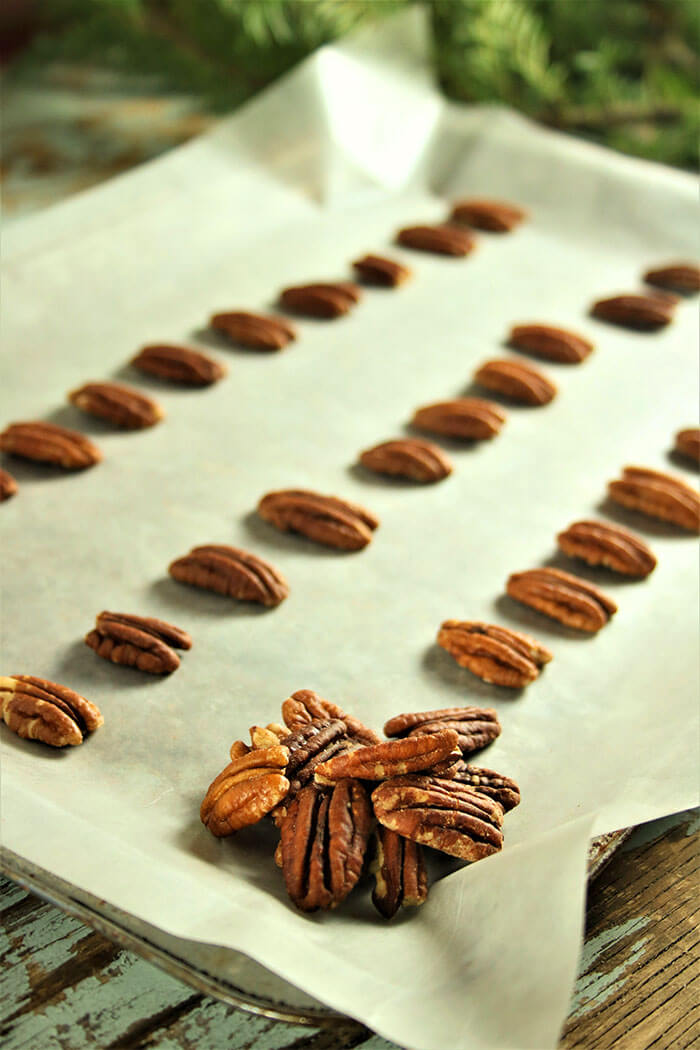
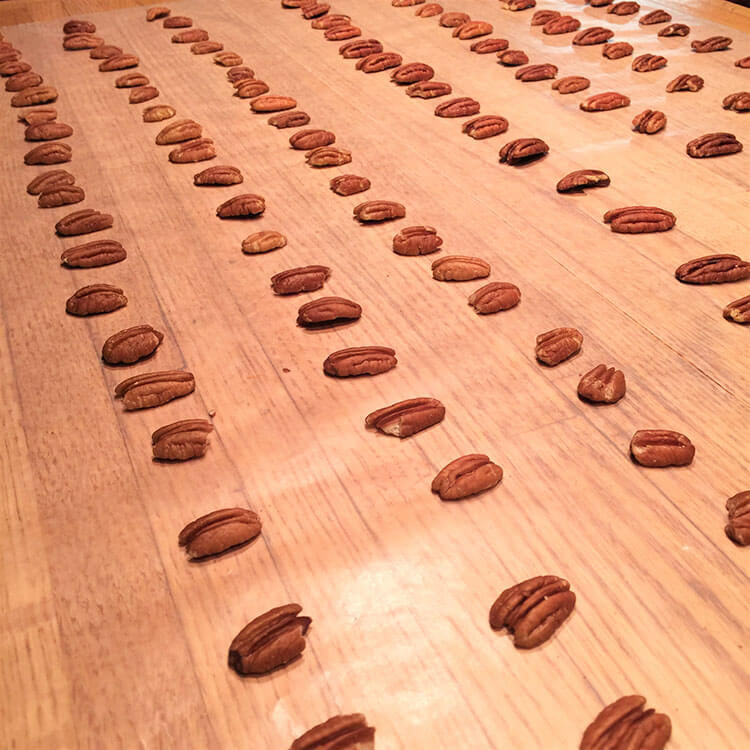
She too made it in long ribbons over rows of pecans. I have changed nothing. I also love that she taught me hard crack candy using a cold water test. She didn’t have or need a candy thermometer. Just a glass of ice water in which you drizzle the candy and then test to make sure it cracks and crunches when you bite into it. I remember going to others’ houses and having a gummy crumbly crystallized version of this. They had not taken the sugar far enough. At 10, I knew the difference and there was no comparison to butterscotch done right. Might have been a little judgy, was a little judgy. But come on people, make it right!
The cold water test is always good to know in case you don’t have a thermometer or it’s not working right and needs recalibration. As sugar cooks, the more the water is cooked out, the harder it will be. Drizzling a teaspoon of the candy into cold water will result in increasingly harder textures as the cooking time lengthens. Starting with “thread”, then passing through the “balls” (soft, firm, hard) and on to soft crack, a hard crack, the sixth stage, is reached at about 300oF.
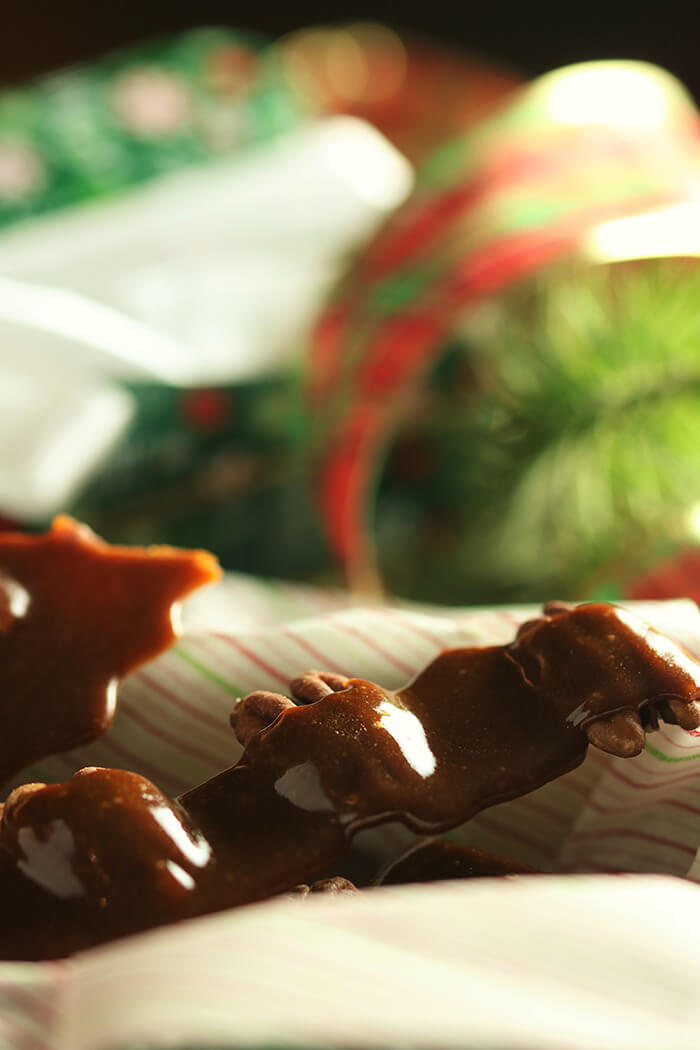
It is best to be ready to pour when that moment ………more like 1/2 or even 1/4 moment…..comes, so in advance I lay out rows of pecans on wax paper on the counter. The second the candy hits hard crack, the color reddens a bit, it becomes very pourable and there is a whiff of char in the air. Turn the heat off and move quickly. When I pour, I walk down the kitchen island pouring on the row farthest away within reach, then reversing the pour on the next row, etc. For this much toffee, I make 8 rows of pecans, each about 4 feet long. I start pouring on the fourth row back, then 3, 2, and 1. Then I walk around the island and repeat.
The toffee will set immediately. Because of the amount of butter, it will peel right off the wax paper, breaking naturally every few pecans. I like to try for 3-4 nuts per piece. Since the candy is in long strips, I was happy to pack my gifts in the cutest rectangular candy tins I found on Amazon. Rectangular works so much better than round tins.
English Toffee with Pecans
1 pound light brown sugar (you could also use dark brown, but the light brown is easier to track changes in color)
14 Tablespoons butter, cut into 1 Tablespoon pieces
4 cups of pecans, about 12 ounces
Cover your work surface with wax paper and lay out the pecans in rows, about one inch apart. I got 8 rows, each about 4 feet long.
In a large non-stick sauté pan, melt the butter with the brown sugar and stir until combined. This pan and your spoon (no plastic spoons or rubber scrapers) will be the next 30 minutes of your life. Relax. It’s kind of Zen. For the first 5 minutes over medium-high heat, stir casually as the butter and sugar melt. It will likely look like there is too much butter at that stage. The butter will not entirely incorporate.
Once combined, turn the heat down to medium and stir constantly. Assuming you are not at altitude* (you are on your own there, but you are probably used to compensations), practice your wax on/wax off stirring technique. Not much will happen for 20 minutes, but don’t walk away. Keep stirring. It will start to bubble and look kind of gritty, and it will be a bit stiff.
Do as I say, not as I do. This spoon didn’t make it any further because I realized the sugar was about to get way too hot. Only use metal or wooden spoons.
Stir on. Between 20 and 25 minutes, it will start to get much more liquid and very shiny. You are getting close. Start cold water testing (see above) after 15 minutes, just so you know what you are dealing with. I made this twice yesterday and both times the magic happened right at 28 minutes (not including that first 5 minutes). That is when it turned reddish, I got a cold water hard crack, it became very liquid and easy to pour, and it fell in ribbons off the spoon. Right then exactly, I also got a whiff of char. If you are using a candy thermometer this will be about 300oF. Here’s more info on temperatures and candy stages.
When you are getting toward a hard crack in your cold water test, it is time for diligence. And once you get a whiff of char, turn off the heat and move the pan ASAP. Remember the pan is hot so this is still cooking. Pour quickly using the technique I outlined above.
Even if you miss a few nuts or your pouring is uneven, no one will know once it is broken into pieces. I try to get every last bit, just pouring the last dribs and drabs in a puddle and perhaps studding with a few more nuts on top.
*Julia Child side bar note: Once I watched the grand lady make a caramel in Aspen at Food & Wine. She wasn’t prepared for high altitude, but quickly realized the liquid was cooking off too quickly and at a lower than expected temperature. It was a surprise, but she was unflappable. She grabbed a nearby bottle of rum – the nearest liquid – and muttered, “Well then, I have added some rum, probably not enough. But, I need some for me, too.”
Jingle Bells!
This post contains affiliate links. For more of my must-have faves, check out my shop.
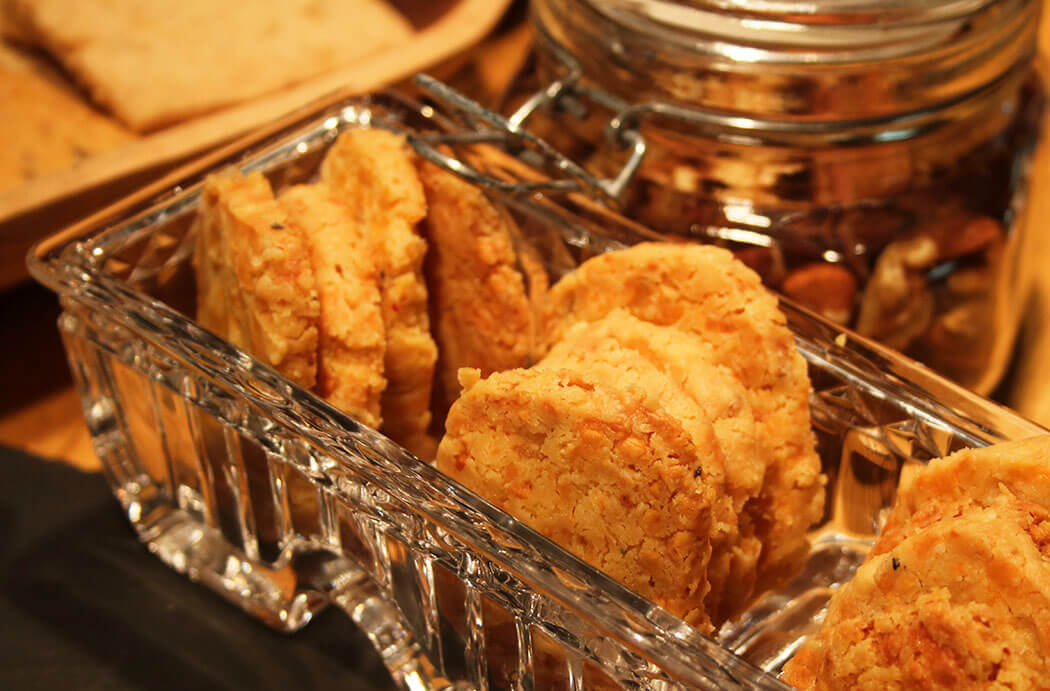
Nothing screams holidays like cranberries, citrus and spice. Mulled wine, orange pomanders (that’s fancy talk for oranges poked full of cloves), and cranberry garlands. So imagine my delight when the good people from the healthy living site Mambo Sprouts shot me a box of the finest spices to review. Squealing! I like to make edible gifts for the holidays – are you with me? We really don’t need one more thing to dust or store. But devour? Hells yeah! Last year I made cheese wafers and put them in a nice little cracker dish (okay, one more thing to store).
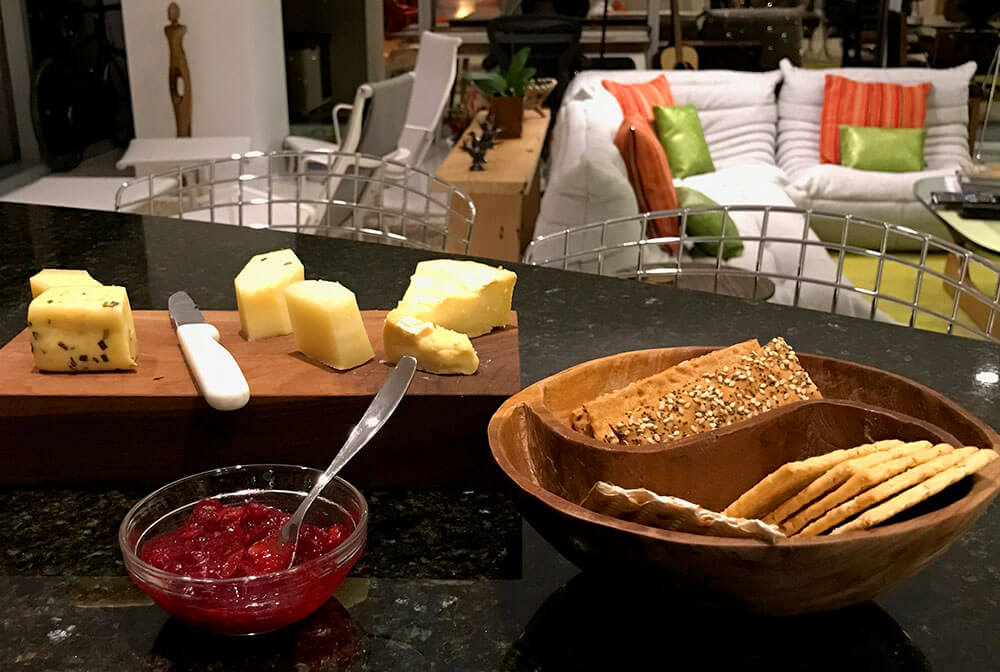
This year I have on my radar some spice blends and chutney. What’s that you say? Chutney is weird? No, no. Ain’t so. Yes. You are right. But only if you are referring to the more traditional, pungent (read: medicinal tasting) versions that are fortified with mustard oil and strong vinegar. This Anglo spin balances its tarts with equal measure sweets (sugar, dried cranberries and candied ginger), and the acid from kumquats (unlike strong vinegar) borders on sweet. It’s practically dessert, wink wink. It can be the perfect foil to too-rich-double-crème brie or the right amount of sweetness to tangy goat cheese. One chutney can do both! Spicy (think turmeric, allspice and cinnamon), zippy (crystallized ginger), tart (kumquats and crans) and sweet (yeah, there’s some sugar – but not as much, by half, of what you would normally see.)
Palate. Passion. Purpose.
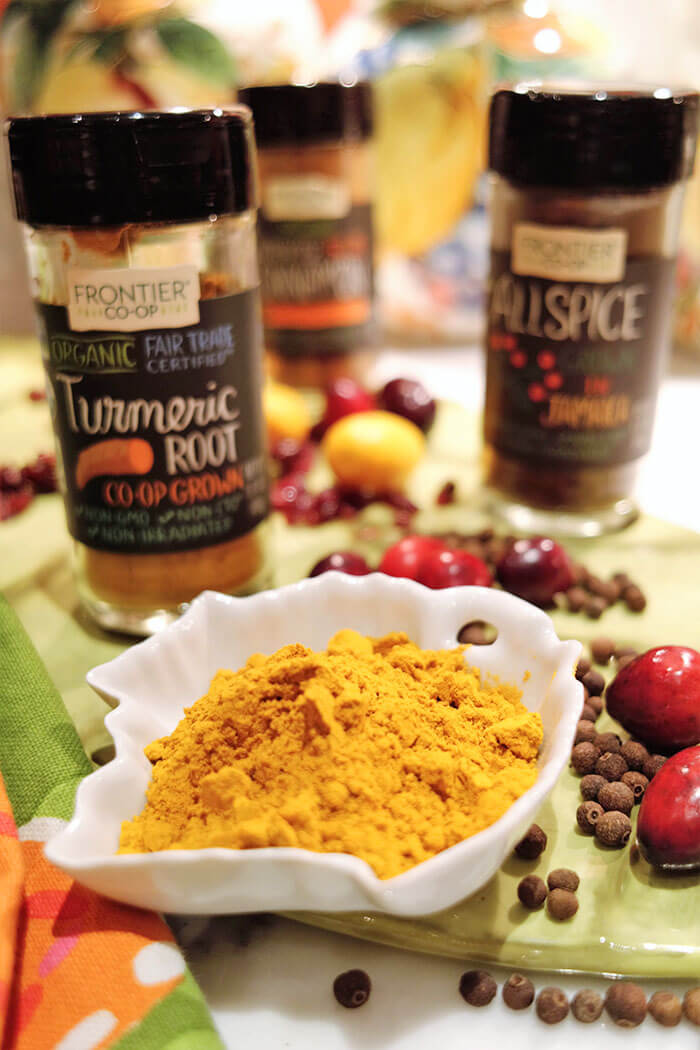
You already know I’m all about this, right? But I have met my match in partnering with Frontier Co-op. A purpose-driven company, Frontier’s theme is Cook with Purpose. Every bottle contains products with a story and the label tells that story. Frontier, as one of the earliest to advocate organics, firmly believes that social responsibility is the foundation for great products and that sustainable agriculture and ethical sourcing yield quality. Since their 1976 Iowa founding (in a river cabin!), they have worked with growers worldwide to build a safe food supply. A large part of that is education and they have created charitable funds (three to be exact) that train farmers and co-ops on how to protect themselves and the environment. The turmeric, sourced in Sri Lanka, was produced by a co-op that benefited from a Frontier grant which enabled an organic training center for the farmers. The cinnamon is Vietnamese. Frontier provided its producers with educational supplies, beds, room & board so the children in these remote communities can be educated. Worldwide, producers are blessed by the generosity of Frontier providing so many basics, ranging from clean water to roads to medical care. Frontier is on a mission – responsibility to people and planet. And btw interesting timing…our paths crossing now. I’m a month away from joining the board of CWS, a global agency with key initiatives in sustainability, hunger, development, and advocacy, among other important work. #fullcircle Frontier had me at Purpose!
Spicing It Up!
Armed with my box of Frontier Co-op goodies, and knowing it’s the time of year when warm spices soothe the soul, I decided to dose this chutney with Vietnamese cinnamon, turmeric, and allspice. The great thing about warm spices is they can flow from sweet to savory, and in fact this chutney does a bit of both. I spent some time a few years ago in southern India and learned more about Ayurvedic cooking. (I also learned a thing or two – first hand – about Ayurvedic massage. Ever have a massage by two people with a whole lotta oil and choreographed moves? Inner-resting! But, that’s for another post.)
A word…or two…about the star ingredients – the spices!
Quality cinnamon is different from supermarket cinnamon (generally cassia) due to its super high oil content, a result of specific harvesting techniques. This Vietnamese (fka Saigon) cinnamon has at least a 5% oil content, which makes it more than double the regular stuff. That results in an abundance of flavor, but especially the pungent, sweet and spicy notes. It also means a little bit goes a long way. The difference in color compared with supermarket brands is remarkable.
You may remember that Buddha Bowl post with fresh turmeric from the winter. While it’s lovely to source fresh ingredients, chances are that rhizome has been on the road a while. If you want real flavor, reach for a quality dried spice. Often called Indian saffron, turmeric – a member of the ginger family – not only gives curry its bright golden color, but it also adds a pepperiness that makes it a regular in Asian cuisine.
And our old friend allspice – I just used it in that yummy pumpkin chia pudding recipe. While it seemingly combines cinnamon + clove + nutmeg and has a very big name, it’s just a single spice and it hails from Jamaica. No doubt you have seen it as an essential ingredient in jerk chicken. It is in fact the unripe berry of a small evergreen. How very Christmasy!
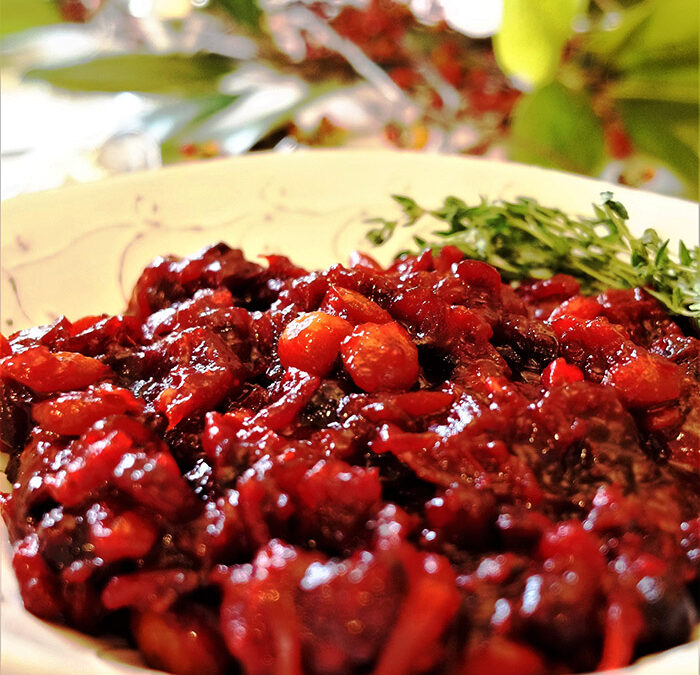
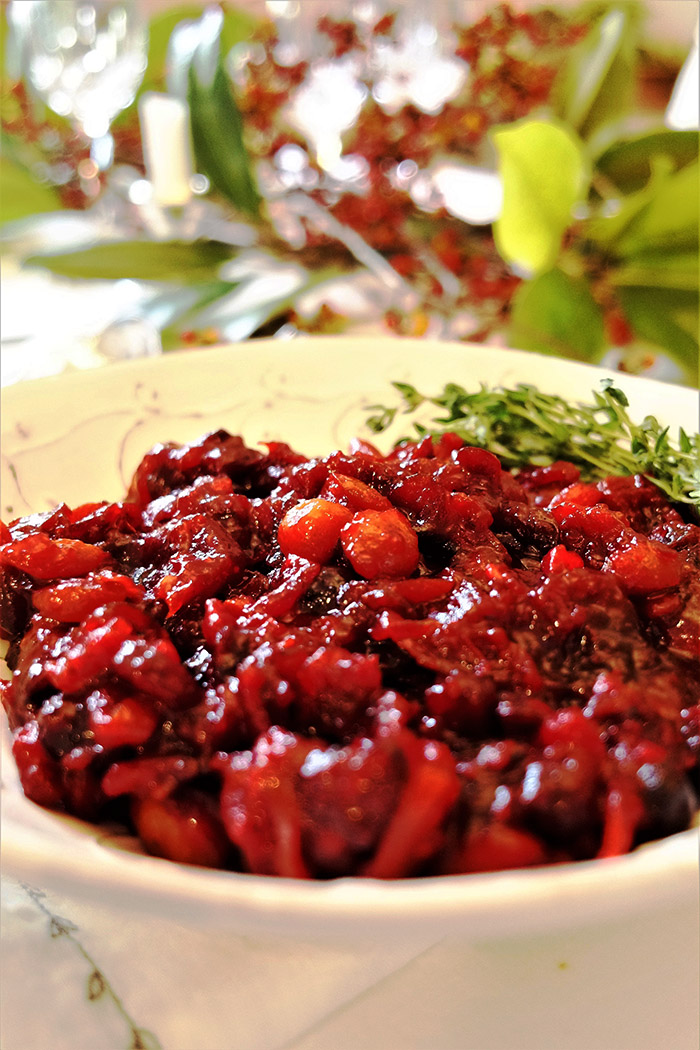
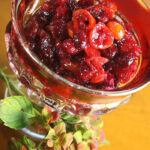
Spiced Cranberry Ginger Kumquat Chutney adds just the sass your Thanksgiving or other wintery meal needs. Jewel-like in color, this chutney not only delivers a sweet-tart-spicy contrast to turkey and mashed potatoes, but it also saves a very beige meal from being oh-so-brown.
In a medium non-reactive saucepan, combine the cranberries, kumquats, sugar, applesauce, and lemon juice. Cook over moderate heat, stirring constantly, until the sugar dissolves and the mixture comes to a simmer. Reduce the heat to low and cook, stirring often, until the cranberries begin to pop, about 5 minutes.
Add the dried cranberries, crystallized ginger, vanilla extract, cinnamon, allspice, turmeric, salt, and pepper. Continue simmering until the fruit is softened and the chutney is slightly thickened, about 5 minutes more.
Remove from heat and let cool completely. Refrigerate, covered, and serve at room temperature.
Notes
Serving Suggestions: This is great with roast meats, slathered on a sammie, or served alongside or atop cheeses. If you warm it up, it will thin a bit and it makes the best glaze for your Christmas ham.
Substitutions: For kumquats: use the zest of one medium orange and chop the flesh coarsely, pith removed. For applesauce: chop one apple, any variety.
This post contains affiliate links.
Prep Time:10 minutes
Cook Time:15 minutes
Category:condiments
Method:stovetop
Cuisine:American
Keywords: cranberry chutney, ginger
Serving and Giving Notes
The chutney can be made up to 1 week in advance, and stored, covered, in the refrigerator. It will easily last several weeks, but I’m just not going to tell you to prepare it weeks ahead. Scraping the last bit out of the bottom of the jar 3 weeks in? Well, that’s a different story. By all means!
If you are making this to give as a gift, make sure to sterilize the jars (glass only, please), and let your giftee know this has not been canned, needs to be refrigerated, and is for current consumption.
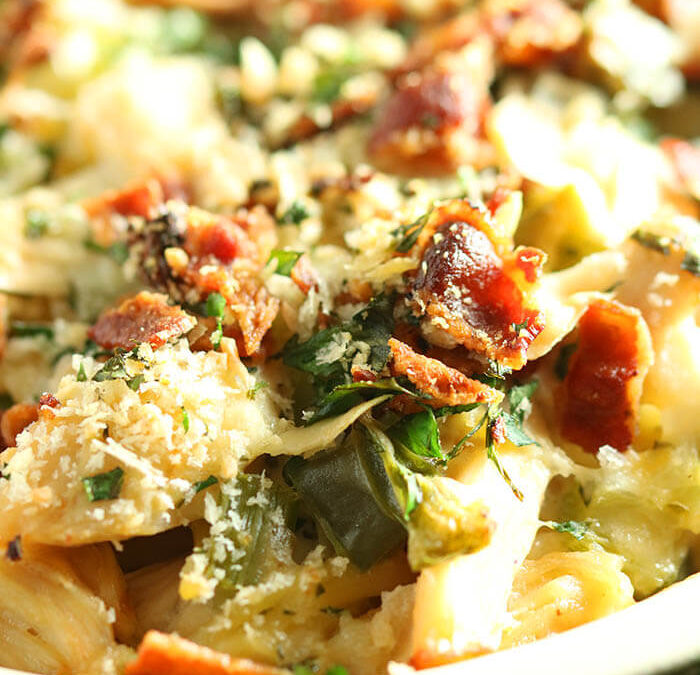
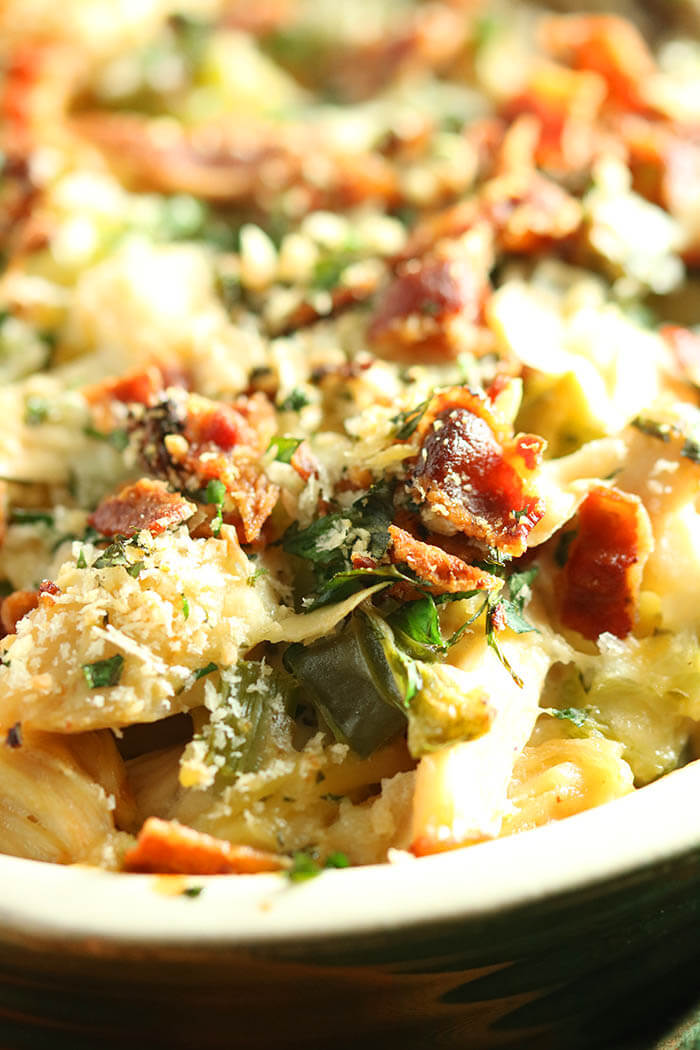
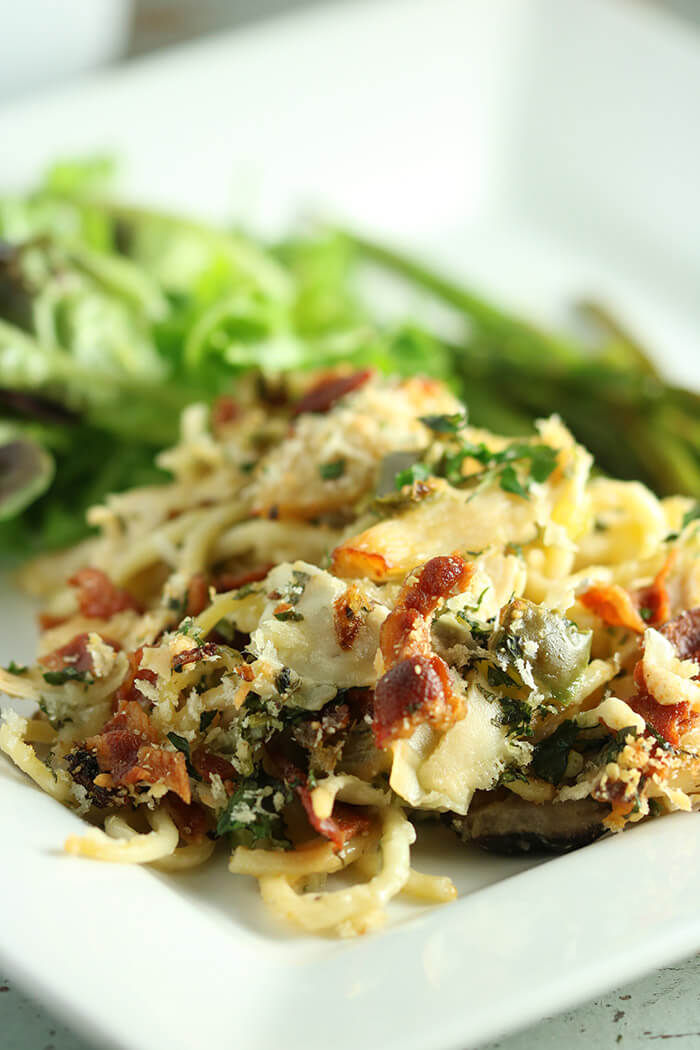
Are you full yet? I know. I know. The mind reels that we are still talking about food. But trust me – this dish does not disappoint. And, be honest. Turkey sandwiches start to feel redundant. Turkey Tetrazzini, a dish I grew up on, however is creamy, hearty, and full of mushroomy goodness. My mom found her recipe (very, very loosely translated below, in part because 50 years ago directions were vague and ingredients were more a suggestion when “the homemaker” already knew how to cook) in the 1968 Panhellenic Meats Cookbook. “Every home should have a good meats cookbook. This cookbook is filled with wonderful recipes submitted by sorority members over the nation. Here you will find all sorts of mouth-watering meats – from tried-and-true favorites such as hamburger pie to exotic foreign treats.” These gals surely got around because despite foreign dishes starting off with lasagna and Canadian meat pie, they also ranged from Turkey to Taiwan to Tahiti.
Speaking of the 60s…who’s doesn’t like a good road trip to pick out dinner? I’ll take THAT one!
Tetrazzini was invented in a hotel (debates over whether it was San Francisco or NYC) in the early 1900s. Opera star Luisa Tetrazzini is its namesake. There is seemingly no standard for what ingredients are required, but it generally includes poultry, a cream sauce and long thin pasta. The Meats Cookbook recipe may or may not call for sautéing the onion in bacon grease. I am not sure I can in good conscience call for that. And I’m here to assure you that I always choose the healthier EVOO. But you should know that is probably a lie. It is definitely a lie. It’s your cholesterol. Do what you will. For goodness sake, it’s the day after Thanksgiving. Is this really the time to show restraint?
Instead of talking turkey, let’s just let the Tetrazzini do the talking!
Turkey Tetrazzini
3 Tablespoons flour
About 4 ounces butter, divided per instructions
1/2 teaspoon salt
1/4 teaspoon ground black pepper
1 1/2 cups milk
1 1/2 cups chicken broth
4 ribs celery, sliced
1 green bell pepper, stem removed, seeded and diced
4 shallots, minced
8 ounces shiitake mushrooms, sliced
1 pound spaghetti
4 cups chopped turkey
2 cups grated cheddar
1/2 cup chopped parsley
1/2 cup grated Parmesan
6 pieces of bacon, cooked and crumbled (are you saving the fat for shallot sauté?)
1/4 cup panko breadcrumbs or seasoned breadcrumbs
Preheat the oven to 350oF. Butter a 9x13x2-inch 3-quart casserole.
I’m switching it up here and making a cross between a milk-based Béchamel white sauce and a chicken broth based Velouté. That makes it creamy and also a bit lighter.
Start by making a roux, using 3 Tablespoons each of butter and flour. Melt the butter and whisk in the flour to make a roux the texture of wet sand. Let it start to bubble and continue for one minute. Whisk in the milk and chicken stock. Combine well. Season with salt and pepper. Add the celery and peppers and simmer for 15 minutes until thickened, whisking from time to time to make sure the sauce does not stick, and the vegetables are softened.
Prep the Veggies:
Meanwhile, add 1 Tablespoon of the remaining butter (or the bacon fat if using) to a sauté pan and add the shallots. Sauté until golden and a bit crispy, about 8 minutes. Drain on a paper towel.
Add an additional 2 Tablespoons of butter to the pan and sauté the mushrooms until browned.
Cook the Pasta:
Cook the pasta according to package directions, under-cooking by a minute or so. Drain.
Time to Combine:
In a small bowl, combine the parsley, shallots and Parmesan.
In a large bowl, add the pasta, turkey, mushrooms, cheddar, and gradually add the sauce, folding to combine evenly. Add half the parsley/shallot/Parmesan mixture and toss well. Transfer to the prepared casserole dish.
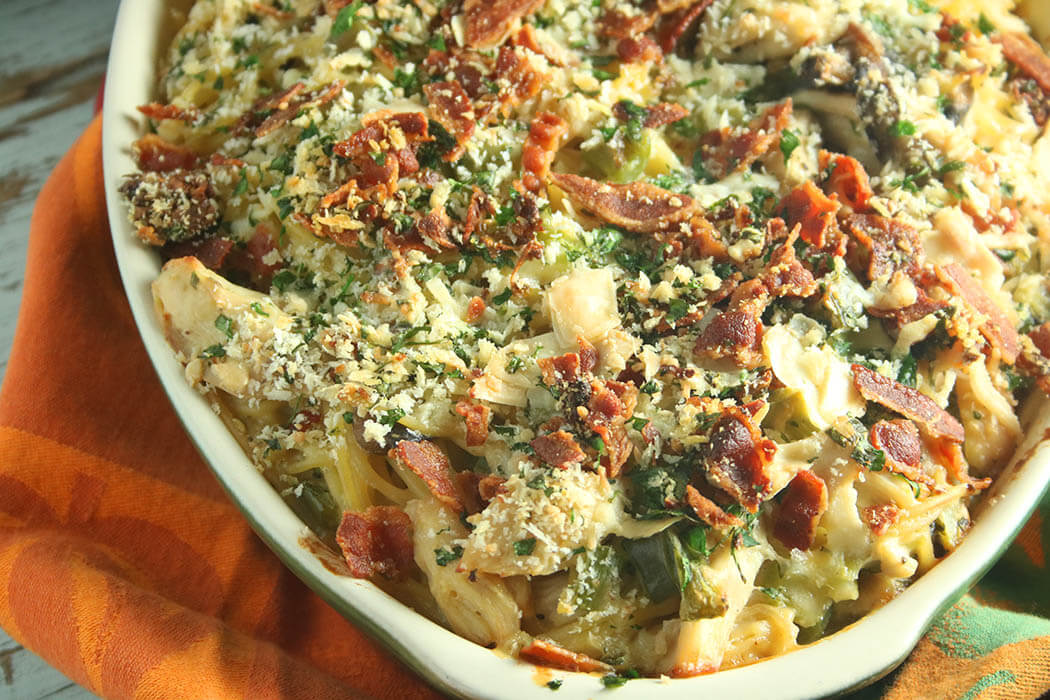
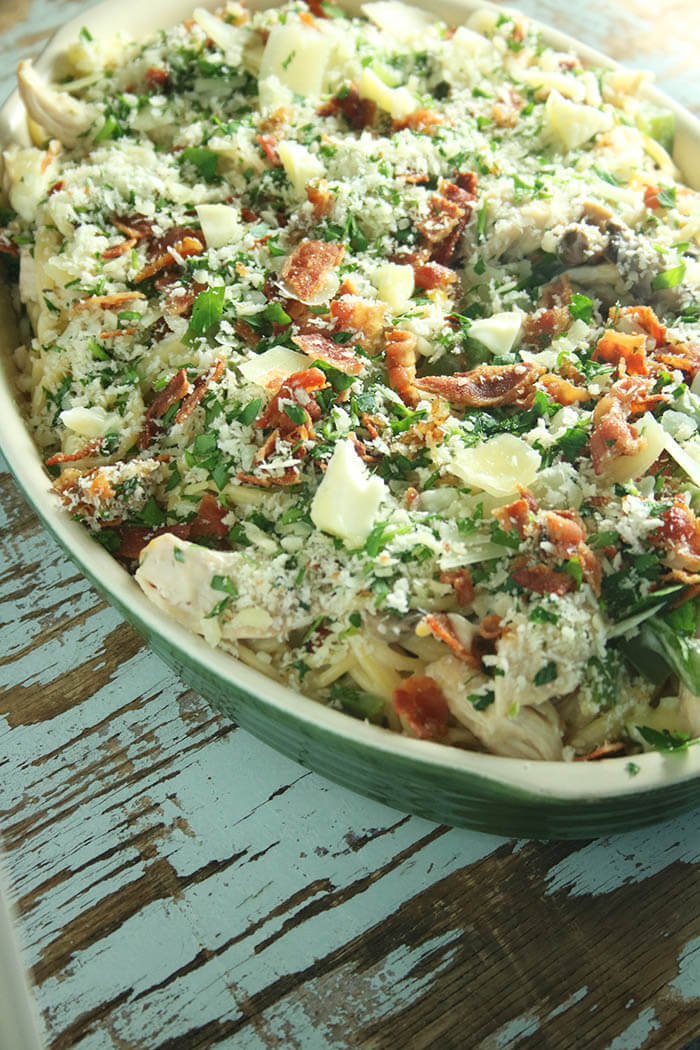
Top the pasta mixture with the remaining parsley/shallot/Parmesan mixture and sprinkle with the bacon and breadcrumbs, dotting with 1 Tablespoon butter.
Bake it Off:
Bake in preheated oven for 45 minutes until bubbly.
Note: Sometimes when I make this, I let it cool to room temperature and freeze until I need it. In that case, I add all the parsley/shallot/Parmesan mixture to the pasta before freezing, and wrap well, without additional toppings. Then when I am ready to bake it off, I top the thawed casserole with bacon, breadcrumbs, and a bit of fresh Parmesan or grated cheddar. Per Darryl Hannah in Steel Magnolias, “it’s in the freezes beautifully section of my cookbook.”
Bon appetit!
Serves ??? How much do you love this? At least 6 or 8, and more if you are willing to share.