
Best Gifts are Homemade: English Toffee aka Grandmother’s Butterscotch

It’s impossible for me to wrap my brain around the holidays without thinking about family and reflecting on memories from childhood. Especially when it comes to food. English toffee? Yaas!!! All those special meals and holiday traditions that started in the kitchen. Hells Yaas!!! I was lucky enough to have three amazing women (four, if you count Florence on whom they all relied) that each had their own special place in the kitchen. Mom read Gourmet magazine in the 60s and was the first of all my friend’s mothers to make spinach dip. In a bread bowl. Mic drop! She loved party-fied food and was always looking for that next something special that was sure to dazzle. Her mother – Gaga – was legend for fancy food. Crab bisque with a splash of sherry or Belgian waffles dusted with powdered sugar. To be fair, I mainly saw her at holidays and birthdays so my sampling may not be statistically valid and may show a bit of bias. But when it came to Christmas cooking, nobody beat Grandmother Keck (“don’t call me Gramma!!!”). She was well known in our small town and she shared her holiday baking with all. Her English toffee was the best in town. JMHO.
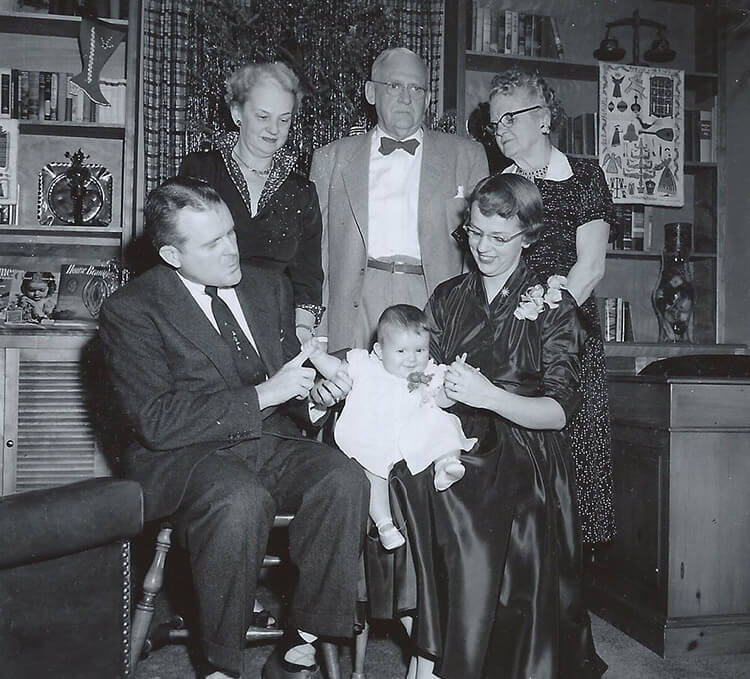
Actually, all her Christmas candy made her a rock star – date balls, divinity, chocolate salted-peanut clusters, apricot balls and what she called butterscotch. It was really toffee. The thing that stands out in my mind is that I don’t have a single written recipe of hers. I think she just really knew how to cook. I have recipes from the other three women, but not her. Yet I can trace many of the things I know how to make straight to her. She was nearly 70 when I was born (she’s the one on the right in this photo) and had had more than a few years to hone her kitchen skills. This photo is from my baptism which was on December 18….a few years ago. As the story goes, city water was out and the font was dry, so they sourced my eternal life spring from a church furnace. It really explains so much when you think about it.
I spent a good bit of time cooking with Grandmother and usually came home and wrote it all down. I have to smile when I see in my handwriting a note on chess pies: don’t remove the pie from the oven when you set it back. Even then my computational brain was worried that turning the oven down might result in a period when the temperature was between the high temperature and the more moderate one and that would not be correct. Should I wait til it reaches the new temp? I understand that little girl’s thinking so well. Her baking skills were not so great – removing a pie mid-bake would be disastrous – but she asked the right questions.
I had not made butterscotch in many decades when I made it three years ago. I didn’t even have to look for proportions because it was so clearly ingrained on my brain. I call for 14 Tablespoons of butter below but the way Grandmother told me: use two sticks of butter and take 1 Tablespoon off of each. Add 1 pound of brown sugar. Boom. Done. Never forgot it.
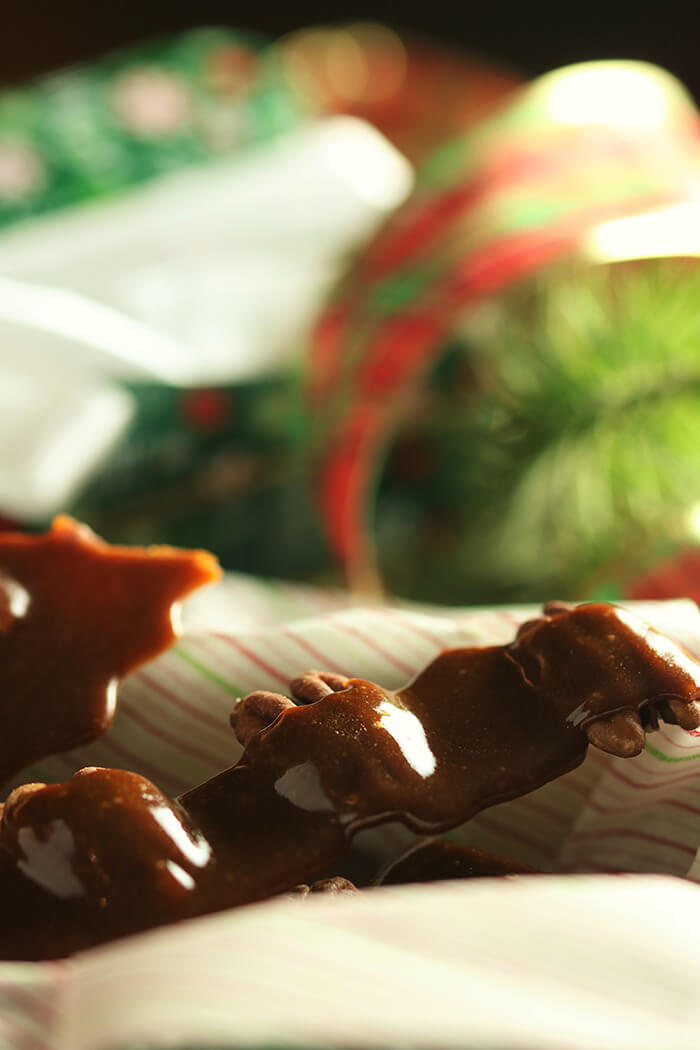
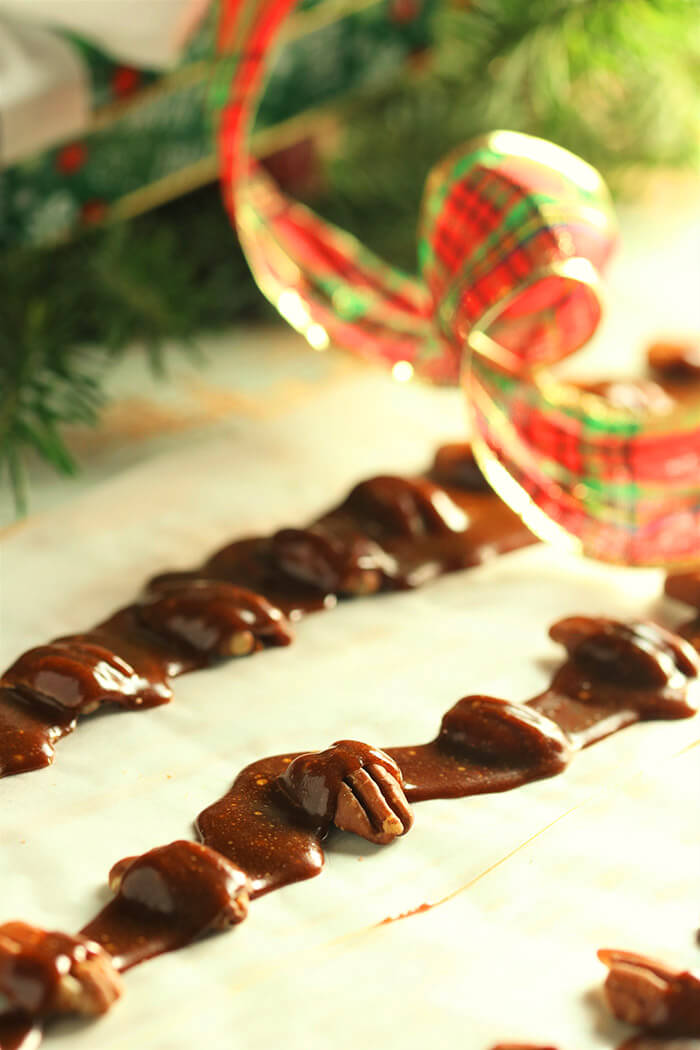
She too made it in long ribbons over rows of pecans. I have changed nothing. I also love that she taught me hard crack candy using a cold water test. She didn’t have or need a candy thermometer. Just a glass of ice water in which you drizzle the candy and then test to make sure it cracks and crunches when you bite into it. I remember going to others’ houses and having a gummy crumbly crystallized version of this. They had not taken the sugar far enough. At 10, I knew the difference and there was no comparison to butterscotch done right. Might have been a little judgy, was a little judgy. But come on people, make it right!
The cold water test is always good to know in case you don’t have a thermometer or it’s not working right and needs recalibration. As sugar cooks, the more the water is cooked out, the harder it will be. Drizzling a teaspoon of the candy into cold water will result in increasingly harder textures as the cooking time lengthens. Starting with “thread”, then passing through the “balls” (soft, firm, hard) and on to soft crack, a hard crack, the sixth stage, is reached at about 300oF.
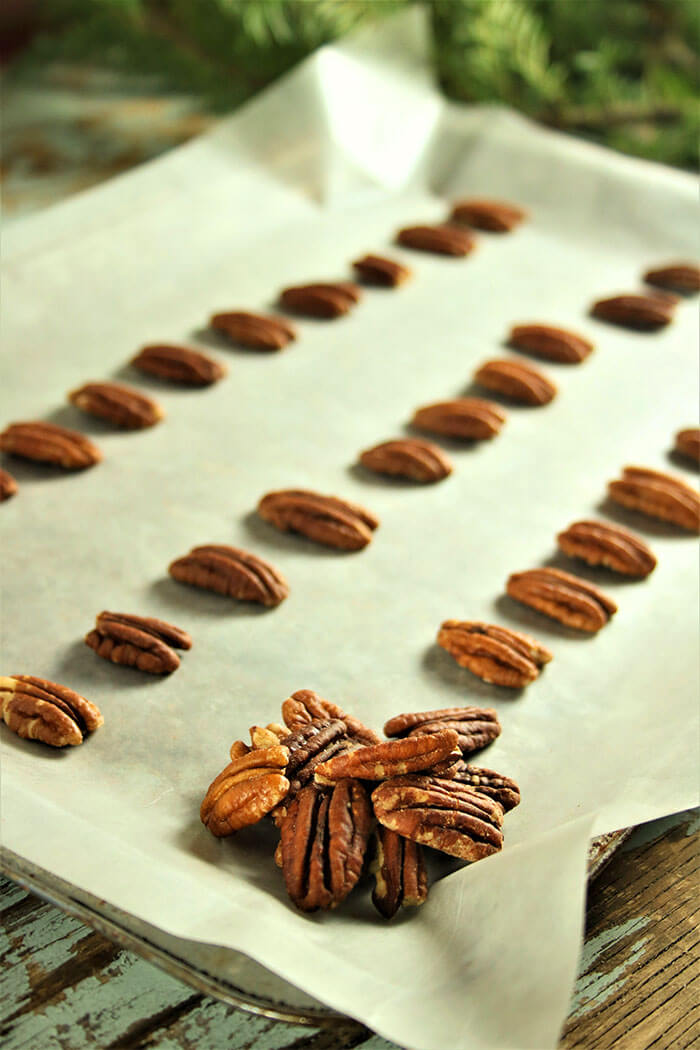
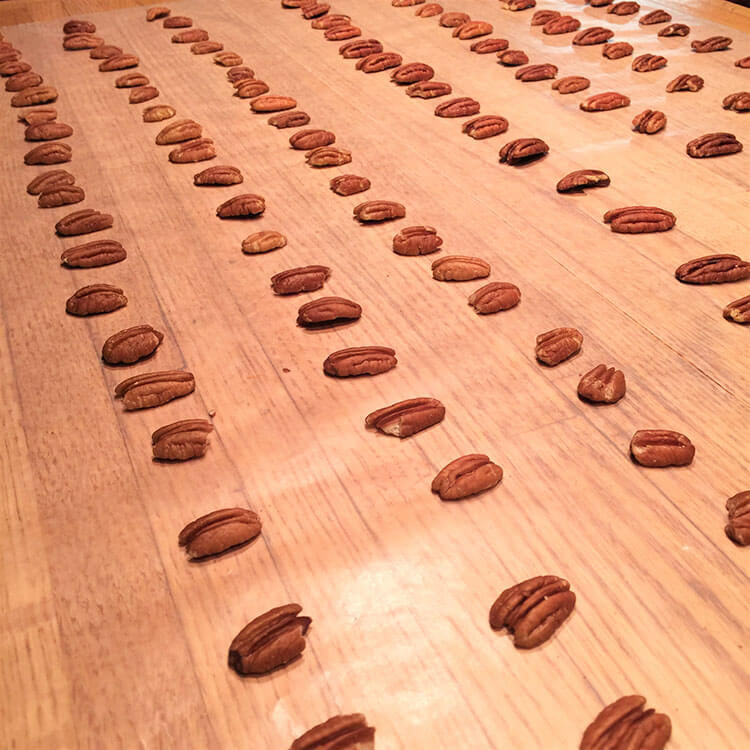
It is best to be ready to pour when that moment ………more like 1/2 or even 1/4 moment…..comes, so in advance I lay out rows of pecans on wax paper on the counter. The second the candy hits hard crack, the color reddens a bit, it becomes very pourable and there is a whiff of char in the air. Turn the heat off and move quickly. When I pour, I walk down the kitchen island pouring on the row farthest away within reach, then reversing the pour on the next row, etc. For this much toffee, I make 8 rows of pecans, each about 4 feet long. I start pouring on the fourth row back, then 3, 2, and 1. Then I walk around the island and repeat.
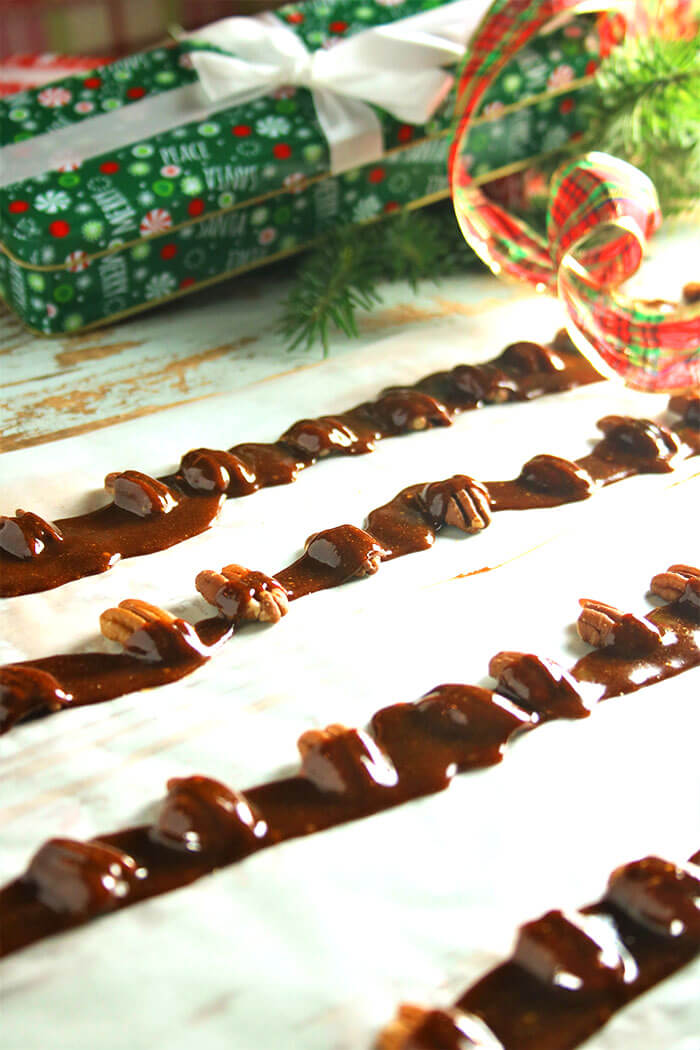
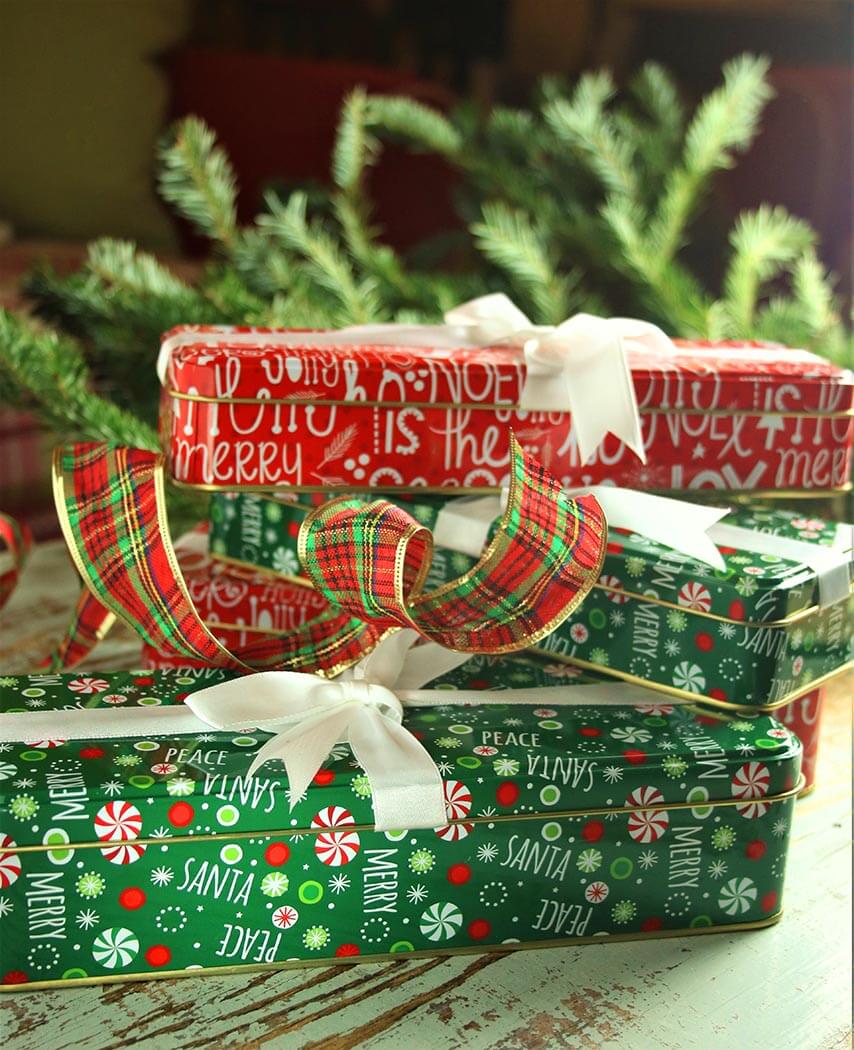
The toffee will set immediately. Because of the amount of butter, it will peel right off the wax paper, breaking naturally every few pecans. I like to try for 3-4 nuts per piece. Since the candy is in long strips, I was happy to pack my gifts in the cutest rectangular candy tins I found on Amazon. Rectangular works so much better than round tins.
English Toffee with Pecans
- 1 pound light brown sugar (you could also use dark brown, but the light brown is easier to track changes in color)
- 14 Tablespoons butter, cut into 1 Tablespoon pieces
- 4 cups of pecans, about 12 ounces
Cover your work surface with wax paper and lay out the pecans in rows, about one inch apart. I got 8 rows, each about 4 feet long.
In a large non-stick sauté pan, melt the butter with the brown sugar and stir until combined. This pan and your spoon (no plastic spoons or rubber scrapers) will be the next 30 minutes of your life. Relax. It’s kind of Zen. For the first 5 minutes over medium-high heat, stir casually as the butter and sugar melt. It will likely look like there is too much butter at that stage. The butter will not entirely incorporate.
Once combined, turn the heat down to medium and stir constantly. Assuming you are not at altitude* (you are on your own there, but you are probably used to compensations), practice your wax on/wax off stirring technique. Not much will happen for 20 minutes, but don’t walk away. Keep stirring. It will start to bubble and look kind of gritty, and it will be a bit stiff.

Do as I say, not as I do. This spoon didn’t make it any further because I realized the sugar was about to get way too hot. Only use metal or wooden spoons.
Stir on. Between 20 and 25 minutes, it will start to get much more liquid and very shiny. You are getting close. Start cold water testing (see above) after 15 minutes, just so you know what you are dealing with. I made this twice yesterday and both times the magic happened right at 28 minutes (not including that first 5 minutes). That is when it turned reddish, I got a cold water hard crack, it became very liquid and easy to pour, and it fell in ribbons off the spoon. Right then exactly, I also got a whiff of char. If you are using a candy thermometer this will be about 300oF. Here’s more info on temperatures and candy stages.
When you are getting toward a hard crack in your cold water test, it is time for diligence. And once you get a whiff of char, turn off the heat and move the pan ASAP. Remember the pan is hot so this is still cooking. Pour quickly using the technique I outlined above.
Even if you miss a few nuts or your pouring is uneven, no one will know once it is broken into pieces. I try to get every last bit, just pouring the last dribs and drabs in a puddle and perhaps studding with a few more nuts on top.
Filled 6 tins
*Julia Child side bar note: Once I watched the grand lady make a caramel in Aspen at Food & Wine. She wasn’t prepared for high altitude, but quickly realized the liquid was cooking off too quickly and at a lower than expected temperature. It was a surprise, but she was unflappable. She grabbed a nearby bottle of rum – the nearest liquid – and muttered, “Well then, I have added some rum, probably not enough. But, I need some for me, too.”
Jingle Bells!
This post contains affiliate links. For more of my must-have faves, check out my shop.
© Copyright: KatyKeck.com 2016. All rights reserved.
Hey, we want to hear from you!
Don’t forget to Comment, Share & Subscribe to our blog.


