I Never Saw Such Sausage: Sausage Making 101
Sawsuch sawsedge. That’s the way my Dad used to say it. Was he channeling his inner Brooklyn? Fuhgeddaboudit! He cracked himself up when he said it. But this tale isn’t really about sausage or sausage making, it’s about fun with friends. I must however make one quick sausage stop, a reverent moment to pay homage to the mother of all sausage experiences – the sausage bomb. I once had to work for the daughter of a famed crime boss. I would tell you who she was, but I’d have to kill you (read: they may kill me). You think I’m kidding, but when her brother died in a car/mini-bike accident, the car driver was “disappeared.” Have I said too much already? Anyway Princessa Mafiosa wrote a cookbook and Extra was filming a piece at her Lon G-Island mansion. I prepped what I could and took a car service to arrive a bit ahead of the appointed hour. They really hadn’t scheduled sufficient time for me to ready all the beauty food laid out in a magnificent “of course she did this herself” spread. When I knocked on the door of the palace, the circle drive strewn with obligatory black Escalades parked haphazardly Tony Soprano-style, my knock was greeted with a door slam and strict instructions to come back later. I had been doing this long enough to know how much work lay ahead and forceful enough to finesse my way inside, but I always wondered – at what cost?
The first recipe was a pasta dish that called for browning the sausage in 2 cups of olive oil, then adding 2 cups of cold water and a bouillon cube to the boiling oil. It was genius – take out the target without spilling any blood – sausage bomb ??? style. BOOM! I did have the good sense to retrieve my business card from the kitchen counter before leaving lest I find a horse head in my bed. Hopefully with a lovely Béarnaise sauce napping it just so.
But I digress – and still swear this really isn’t about sausage. It’s about hospitality. We’ve just survived the super bowl, the Oscars, and the New York marathon of all home entertaining events- Thanksgiving. It was no doubt stressful. Was the turkey too salty, too dry, too frozen? Did you really have to do it all by yourself? Time now to sit back and enlist the full team to make things happen, and have fun while doing it. I’m not just talking about a potluck people, I mean a real cooking party.
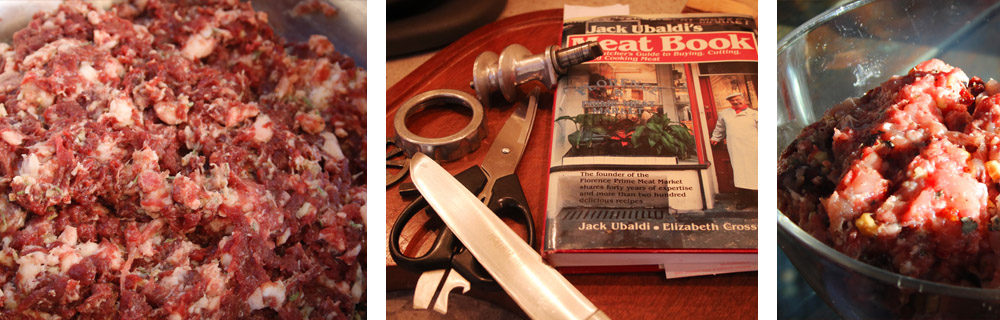
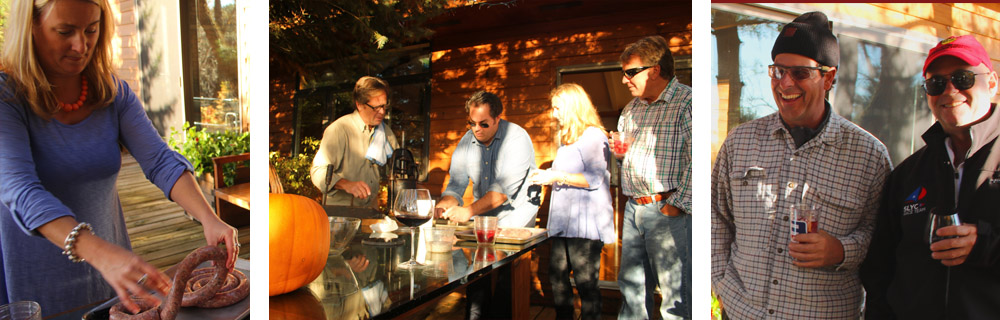 I recently had the good fortune of spending the afternoon at a sausage party. This crowd takes their game meat seriously so we had a variety of flavors, including a beef heart sausage. (Stop it – your face is gonna freeze like that). But the one here is rabbit with dried cherries and toasted hazelnuts. The great thing about making your own sausage is that you have ultimate control over the seasonings and fat/meat ratio, eliminating all preservatives, while having great fun. Win. Win. Win.
One of my all-time favorite meat books is a seriously old cookbook by Jack Ubaldi. Jack owned the legendary Florence Prime Meat Market in New York’s Greenwich Village. He was a butcher’s butcher. A master of meat. When I came on the food scene, he had just sold it and was teaching. I took both butchering and knife skills from him. He changed my life when I learned that a bread knife is not to be used in a back and forth sawing motion, but rather cut on the forward movement, only dragging the knife back – without action – merely to re-position, so you can cut again on the next forward motion. Who knew? Jack.
Jack’s sausage technique became the base for our afternoon of sausage revelry. I arrived just as the sausage mix was being processed in a meat grinder. My Mom and Grandmothers had manual grinders that C-clamped to their counters. Today you can buy attachments for a variety of machines; I have the grinder attachment for my KitchenAid stand mixer.
 Here’s what we missed –
Fresh Rabbit Sausage with Dried Cherries and Toasted Hazelnuts:
- 2 pounds lamb, cut in chunks
- 2 pounds rabbit, cut in chunks
- 2 tablespoons kosher salt (if not kosher, at least coarse grain)
- 2 Tablespoons chopped garlic
- 1 teaspoon black pepper
- 1 teaspoon chopped marjoram
- 1 teaspoon chopped sage
- ¼ cup chopped dried cherries
- ¼ cup chopped toasted hazelnuts
- Casings, soaked – available from your butcher
Makes about 4 pounds of sausage, or approximately 12 links.
The general rule of thumb is 30% fat to 70% lean meat. If it’s too lean, it will be very dry; too fatty, the fat will render leaving a shriveled up sausage that is way too rich. This sausage was pretty lean, but lots of flavor. The meat went through the grinder with 3/8” plate, and the rest is stirred in by hand, first the seasonings, then the cherries and nuts. Knead by hand until the meat sticks together, about 5 minutes or so. The recipe and technique here are for a fresh sausage, meant to be cooked and enjoyed within a couple days. Drying sausage is a separate technique, which is no longer required for home cooks, now that we have fridges.
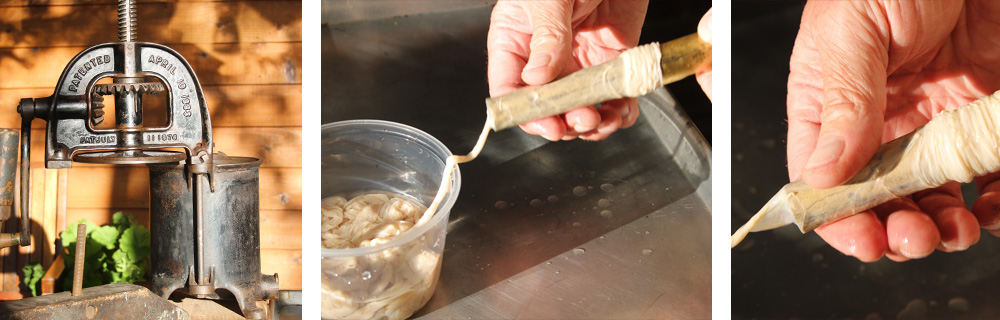 The casings you will find are generally hog. They are often sold packed in salt. If your butcher doesn’t carry them there are several online sources. About an hour before you start, you should soak the casings in warm water for about 30 minutes. After, run water through the casings, but do not squeeze. Then return them to a container, covered in tepid water. One pound of casings is about 50-60 feet long, and will pack 25 pounds of sausage, though it may be closer to 50 pounds. There is a fairly wide range in capacity because the diameter will vary. If you don’t use them all, wring out the excess water and pack again in salt and refrigerate in airtight container.
The real fun begins when the stuffing happens. My friends happen to own an antique stuffer, but in addition to the meat grinder attachment, my KitchenAid stand mixer has a Stuffing Attachment. You can always use a funnel for stuffing by hand. Thread the casings onto a wet funnel or stuffing tube until an inch of casing remains. Tie off the end.
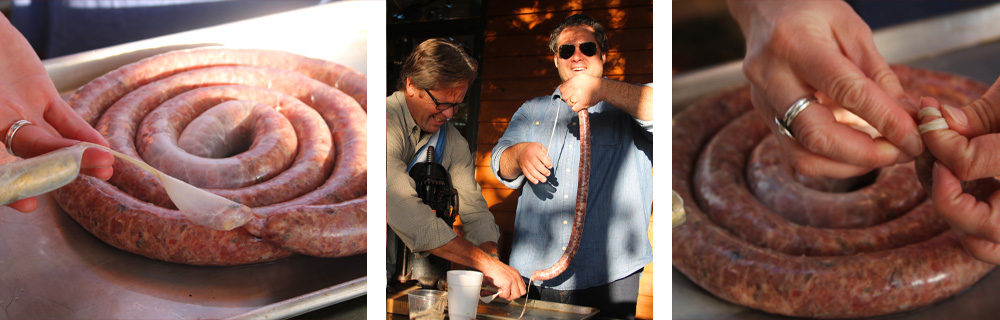 Add the meat to the hopper and push through. It helps here if you have octopus arms or a friend – one to man the sausage intake and one to manage the casing/stuffing output. Once you have filled a desired length, press gently to ease out any air, even the meat distribution, and make sure there is a little give – i.e. not too stuffed. Tie off this end. Continue filling additional lengths, until you have used all your meat mixture.
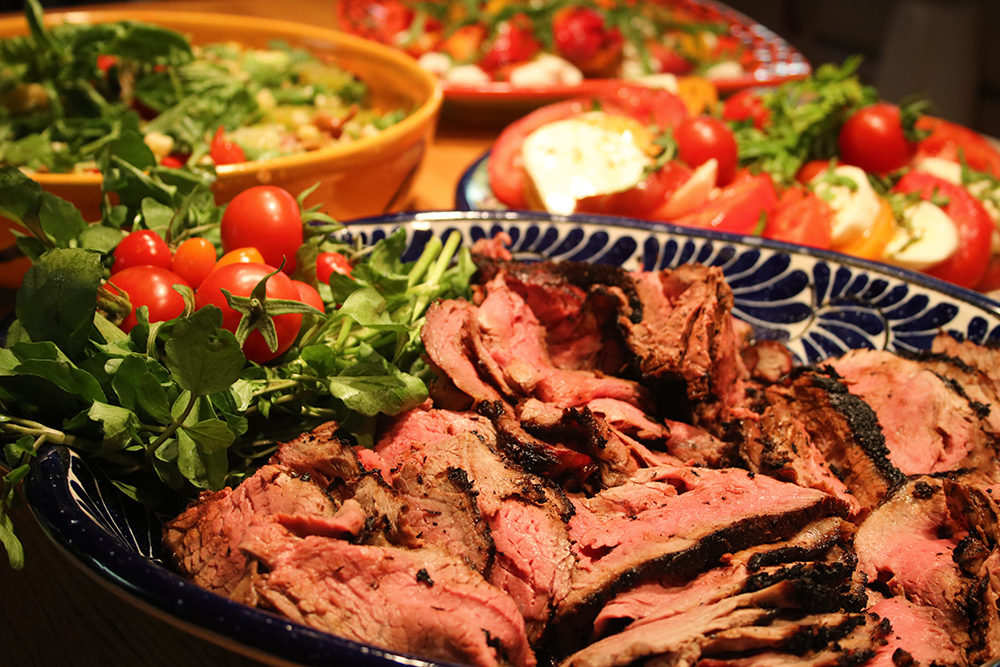
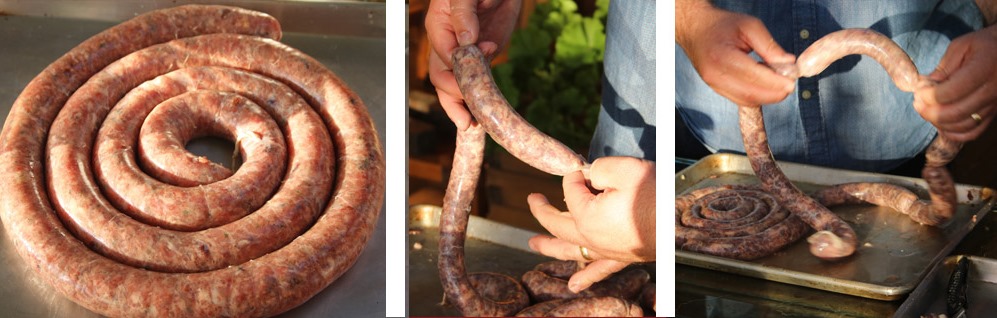 The next step is to make links: Pinch off a 4-5 inch section at each end and twirl like a jump rope to create an individual link. Generally all the links are kept attached to minimize the waste. At this point you can freeze, simmer, broil, or grill, but if you are like us, you will want them right away with a frosty beer. We threw them on the grill and cooked about 8-10 minutes per side.
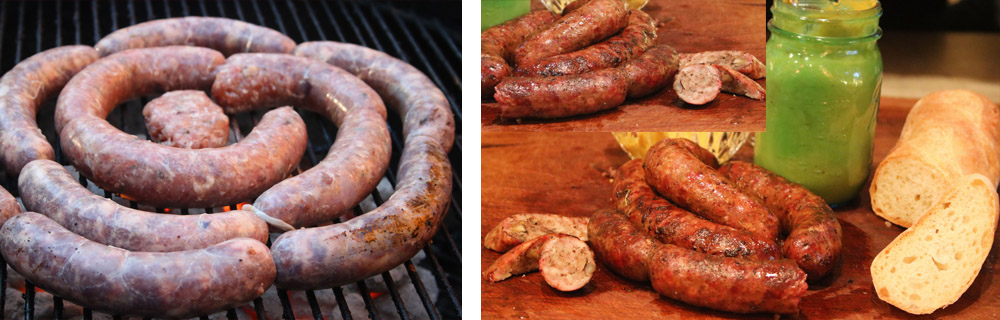 There are infinite ways you can customize this concept – fresh sausage, dry sausage, fruit, nuts, organs, animals, fish, veggie, etc. But this story is about camaraderie and spending the day with friends. We cracked a new jar of last season’s habanero mustard – sorry but this recipe is also a mob secret – and served it up with Amy and Todd’s butternut squash soup, topped with crispy bacon, shallots, and apples, then chased it with my gentleman jack pumpkin ginger cheesecake. Fat and happy!!!!
The next cooking party on the docket is a soup party. Stay tuned!
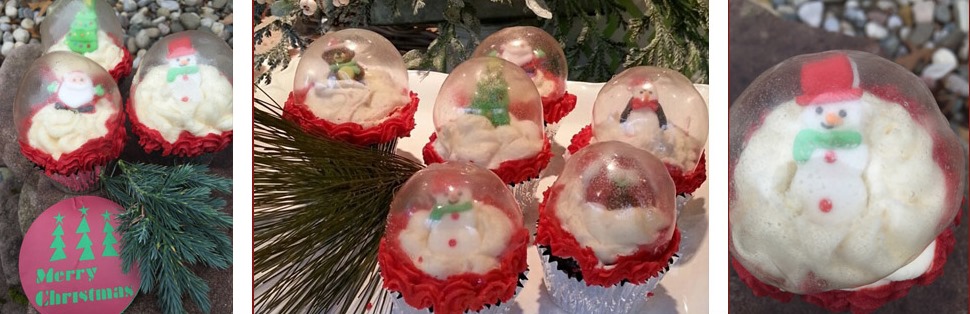
Where are they now? ChloElla J update
Okay you know where they are!!! It’s only been ten days. However, this update is worth reporting.
I do believe they have outdone themselves – December’s Cupcakes for a Cause were edible snow globes. Could they be a bit cuter????
 © Copyright: KatyKeck.com 2015. All rights reserved.